
DIY White Wood Backdrop
When it comes to styling, there are a number of decisions that need to be made to bring a photo concept to life, and one of the most important details that need to to be determined right off the bat is what backdrop you’re going to use. Helping to tell your story and quite literally setting the stage for your shot, your backdrop choice should not only be aligned with your overall brand style, but also tie in and complement your subject matter without competing with it.
If you create your own content (or even if you work closely with a team in order to do so), it’s not a bad idea to build a styling toolkit that includes some go-to backdrops along with your props, which means you’ll always have them at the ready and can ensure some consistency throughout your visual content.
I learned pretty early on that you can create simple, inexpensive backdrops that are customized to your brand and style with a few key items from The Home Depot Canada and a little bit of DIY magic, which is why I’ve partnered with them to bring you a series of DIY backdrops over the next few weeks. I’m totally the girl who gets just as excited about a trip to pick up DIY supplies as any other shopping excursion, and I’ve picked up a few tricks and tips along they way that I’ll be sharing with you.
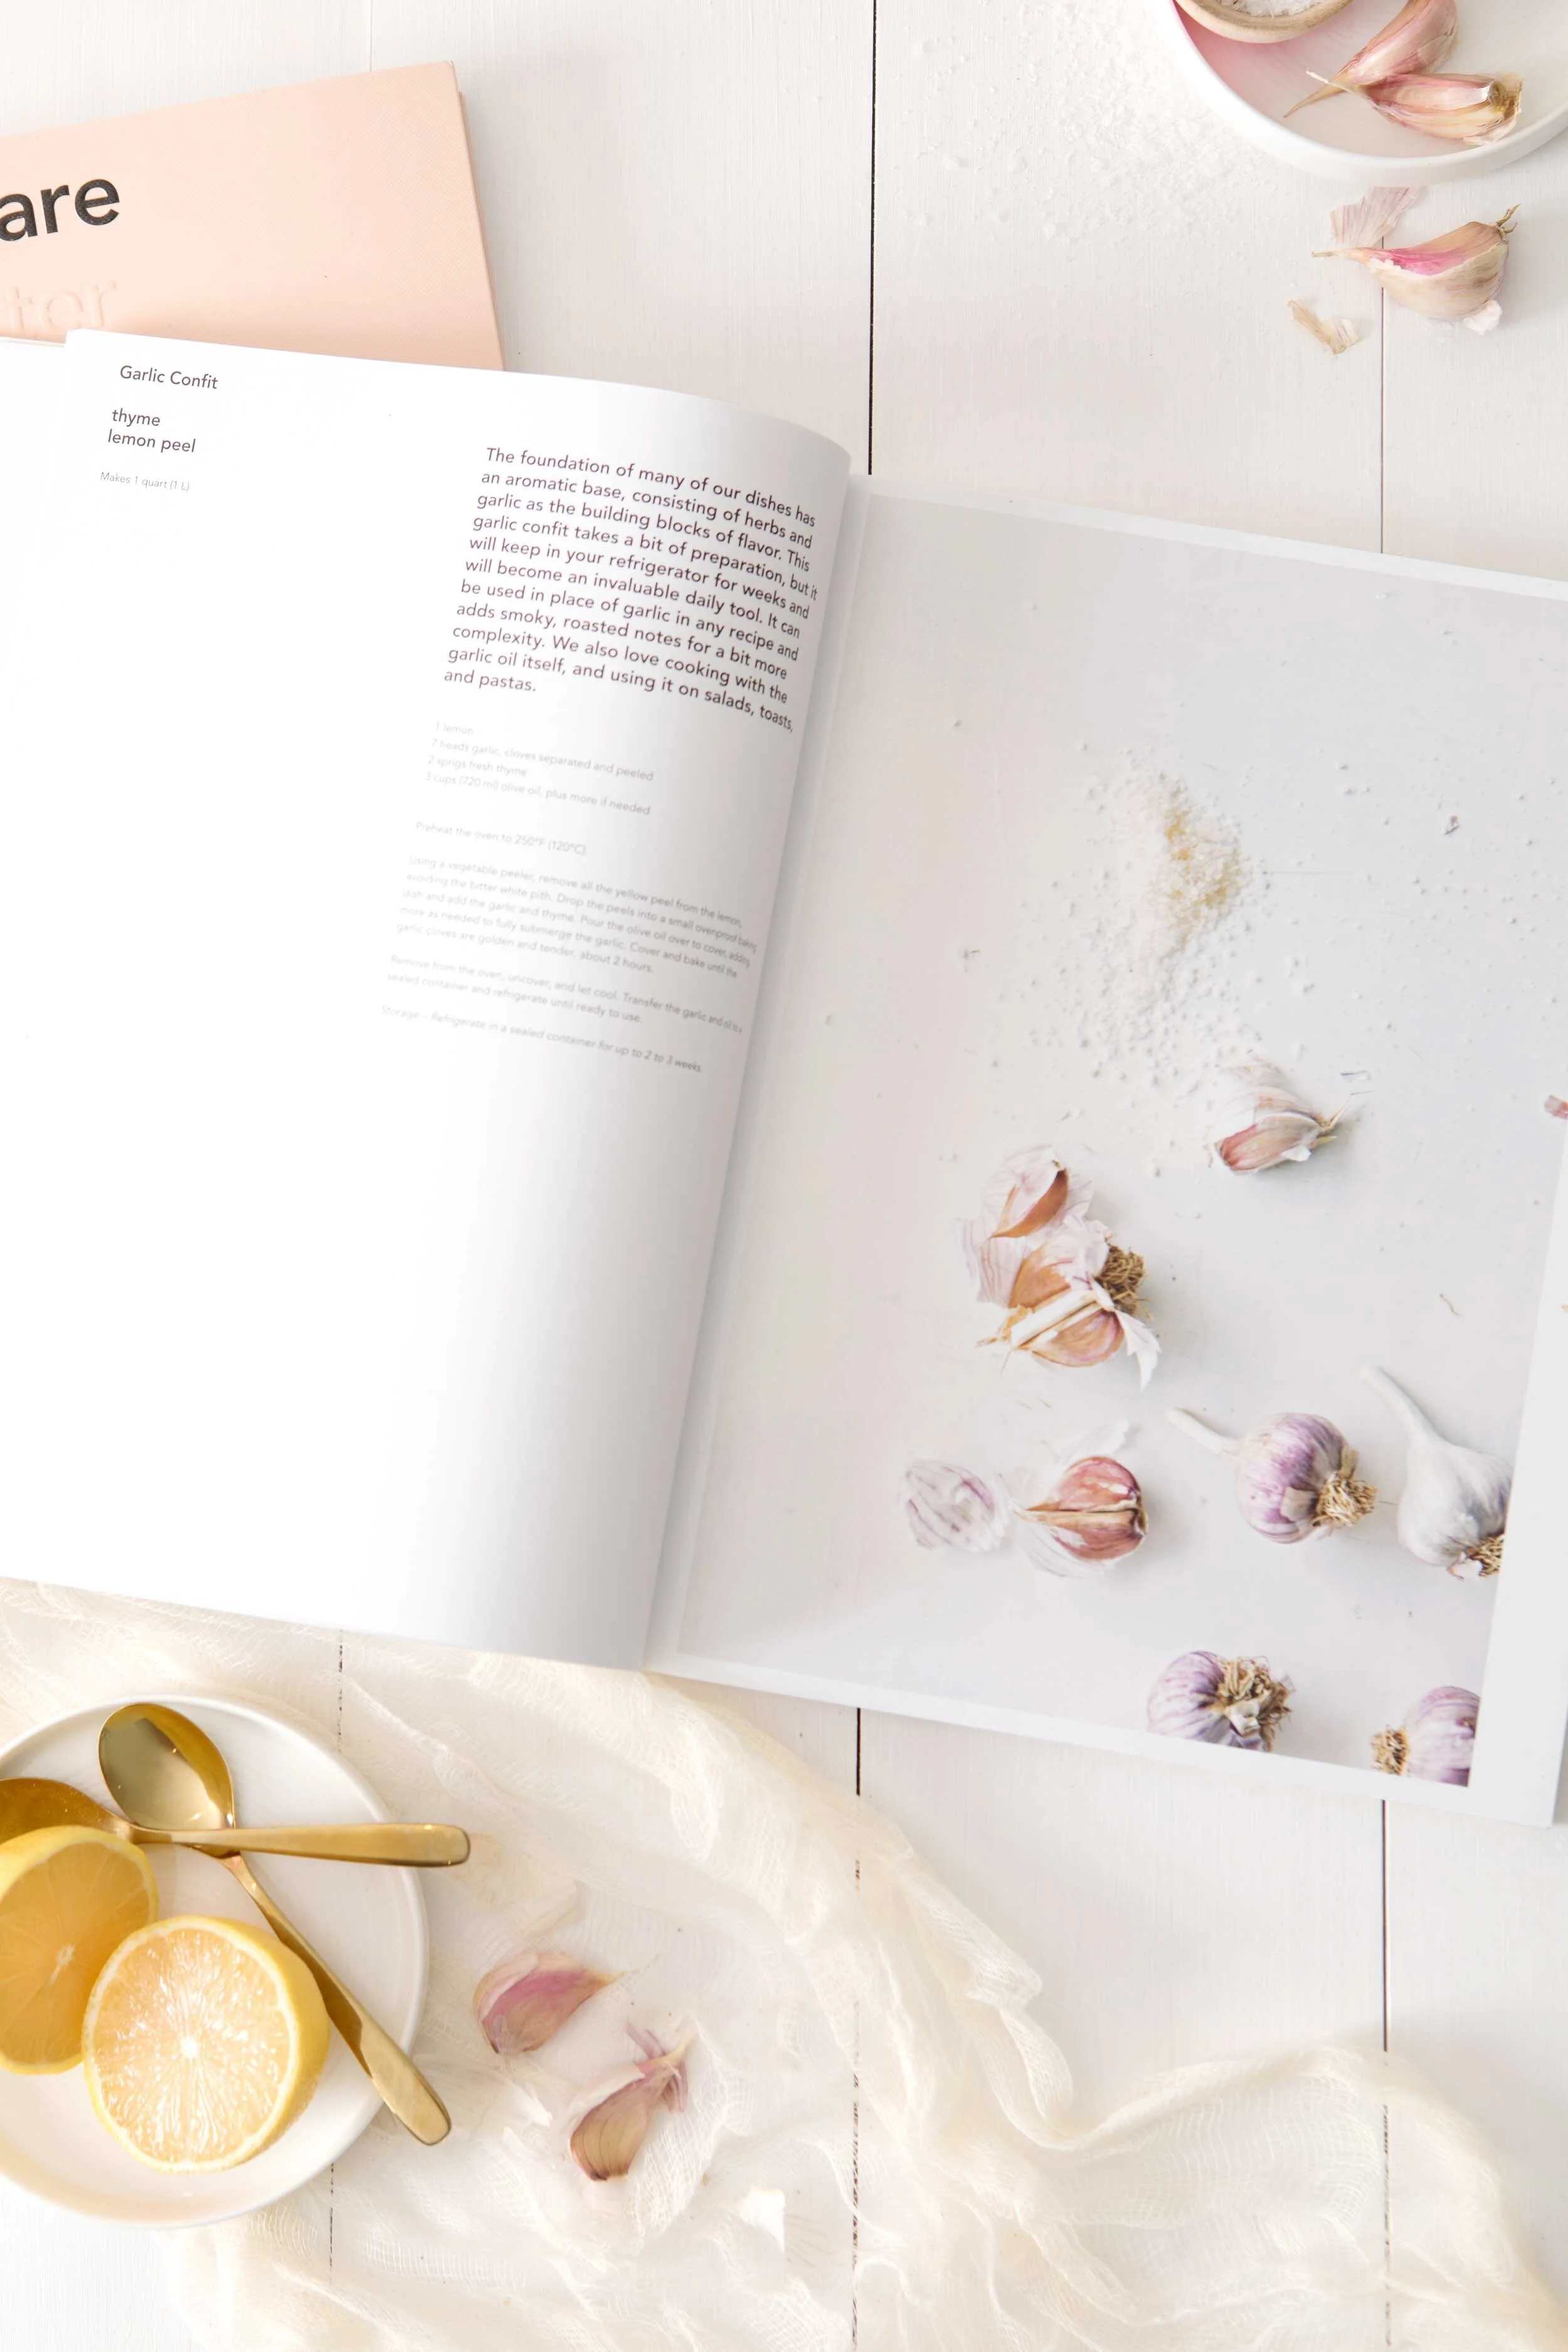
First up, we have the DIY white wood backdrop, which is actually the most recent addition to my backdrop collection, and one that I originally made for a regular client after finding myself renting one a few too many times for their monthly content. The beauty of this backdrop is that it gives you that clean, bright look with a little more texture than a flat white backdrop, hinting at a beautiful whitewashed farm table or a seaside getaway. Perfect for food and drink styling or anything where you’re after a cozy, slightly rustic vibe, it’s a great backdrop to have on hand, and of course you could paint it any colour, depending on the look you’re after.
Supplies
Brush (2” or 3”)
Wood screws
Power drill with drill bits
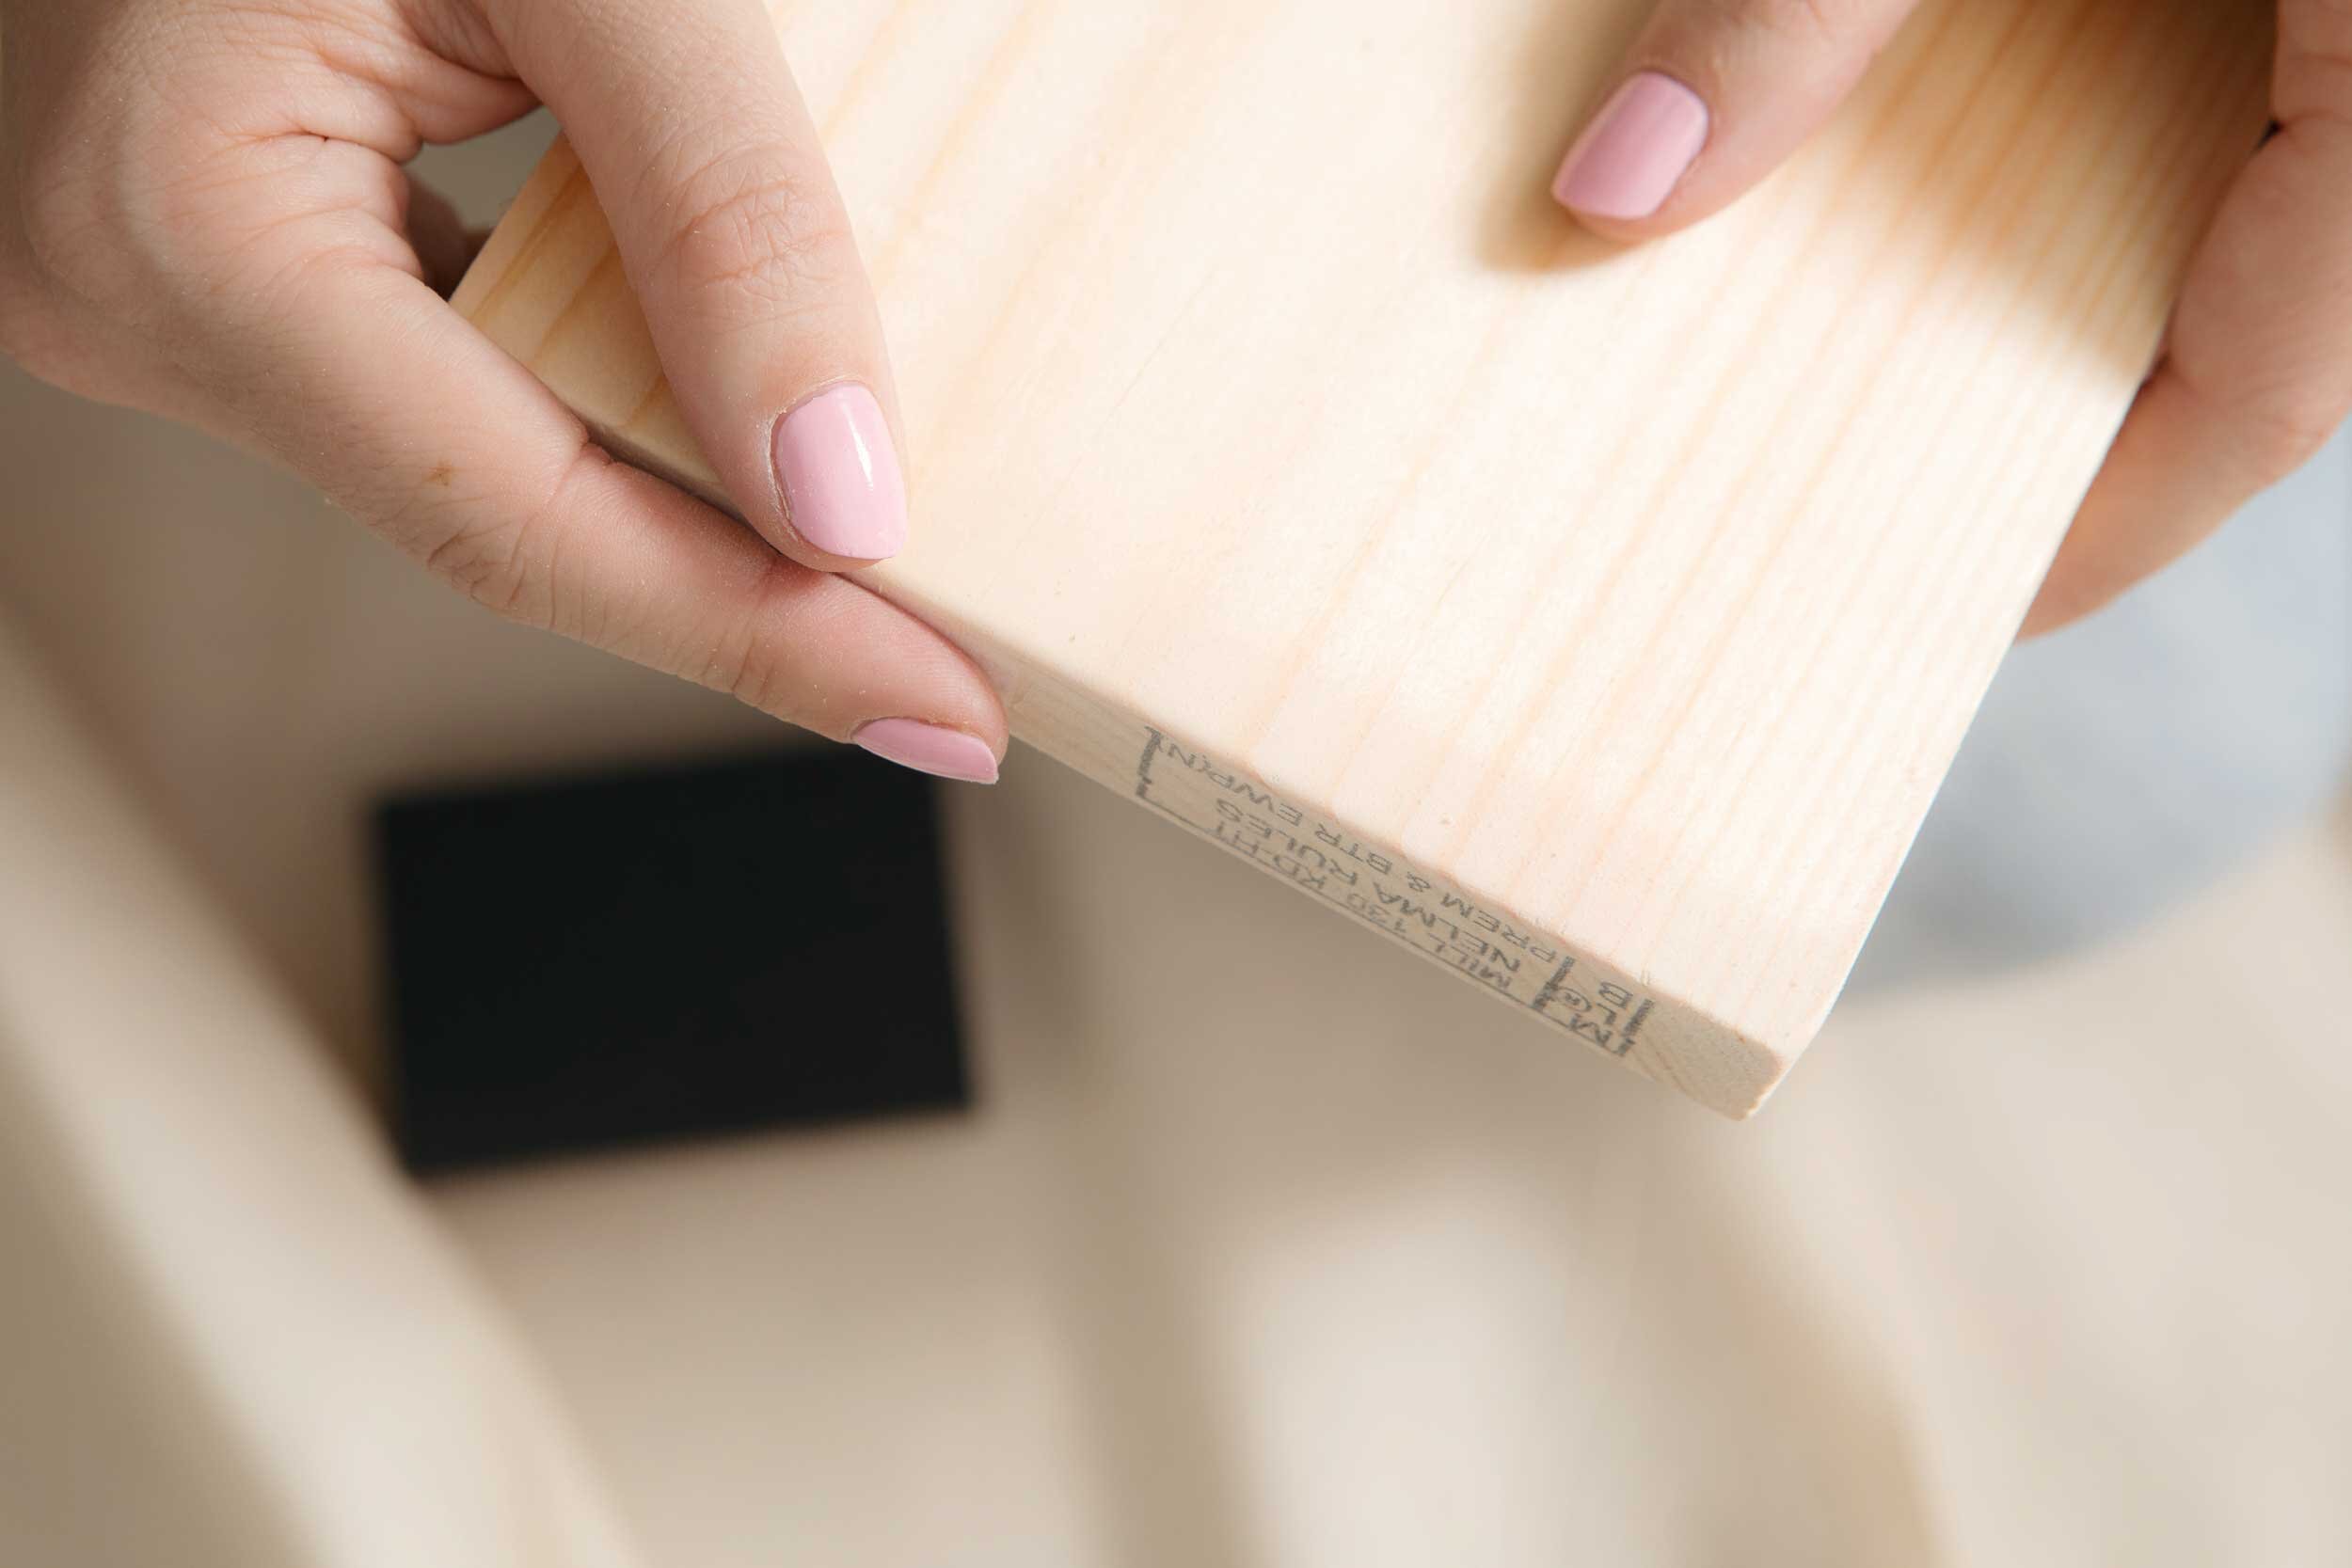
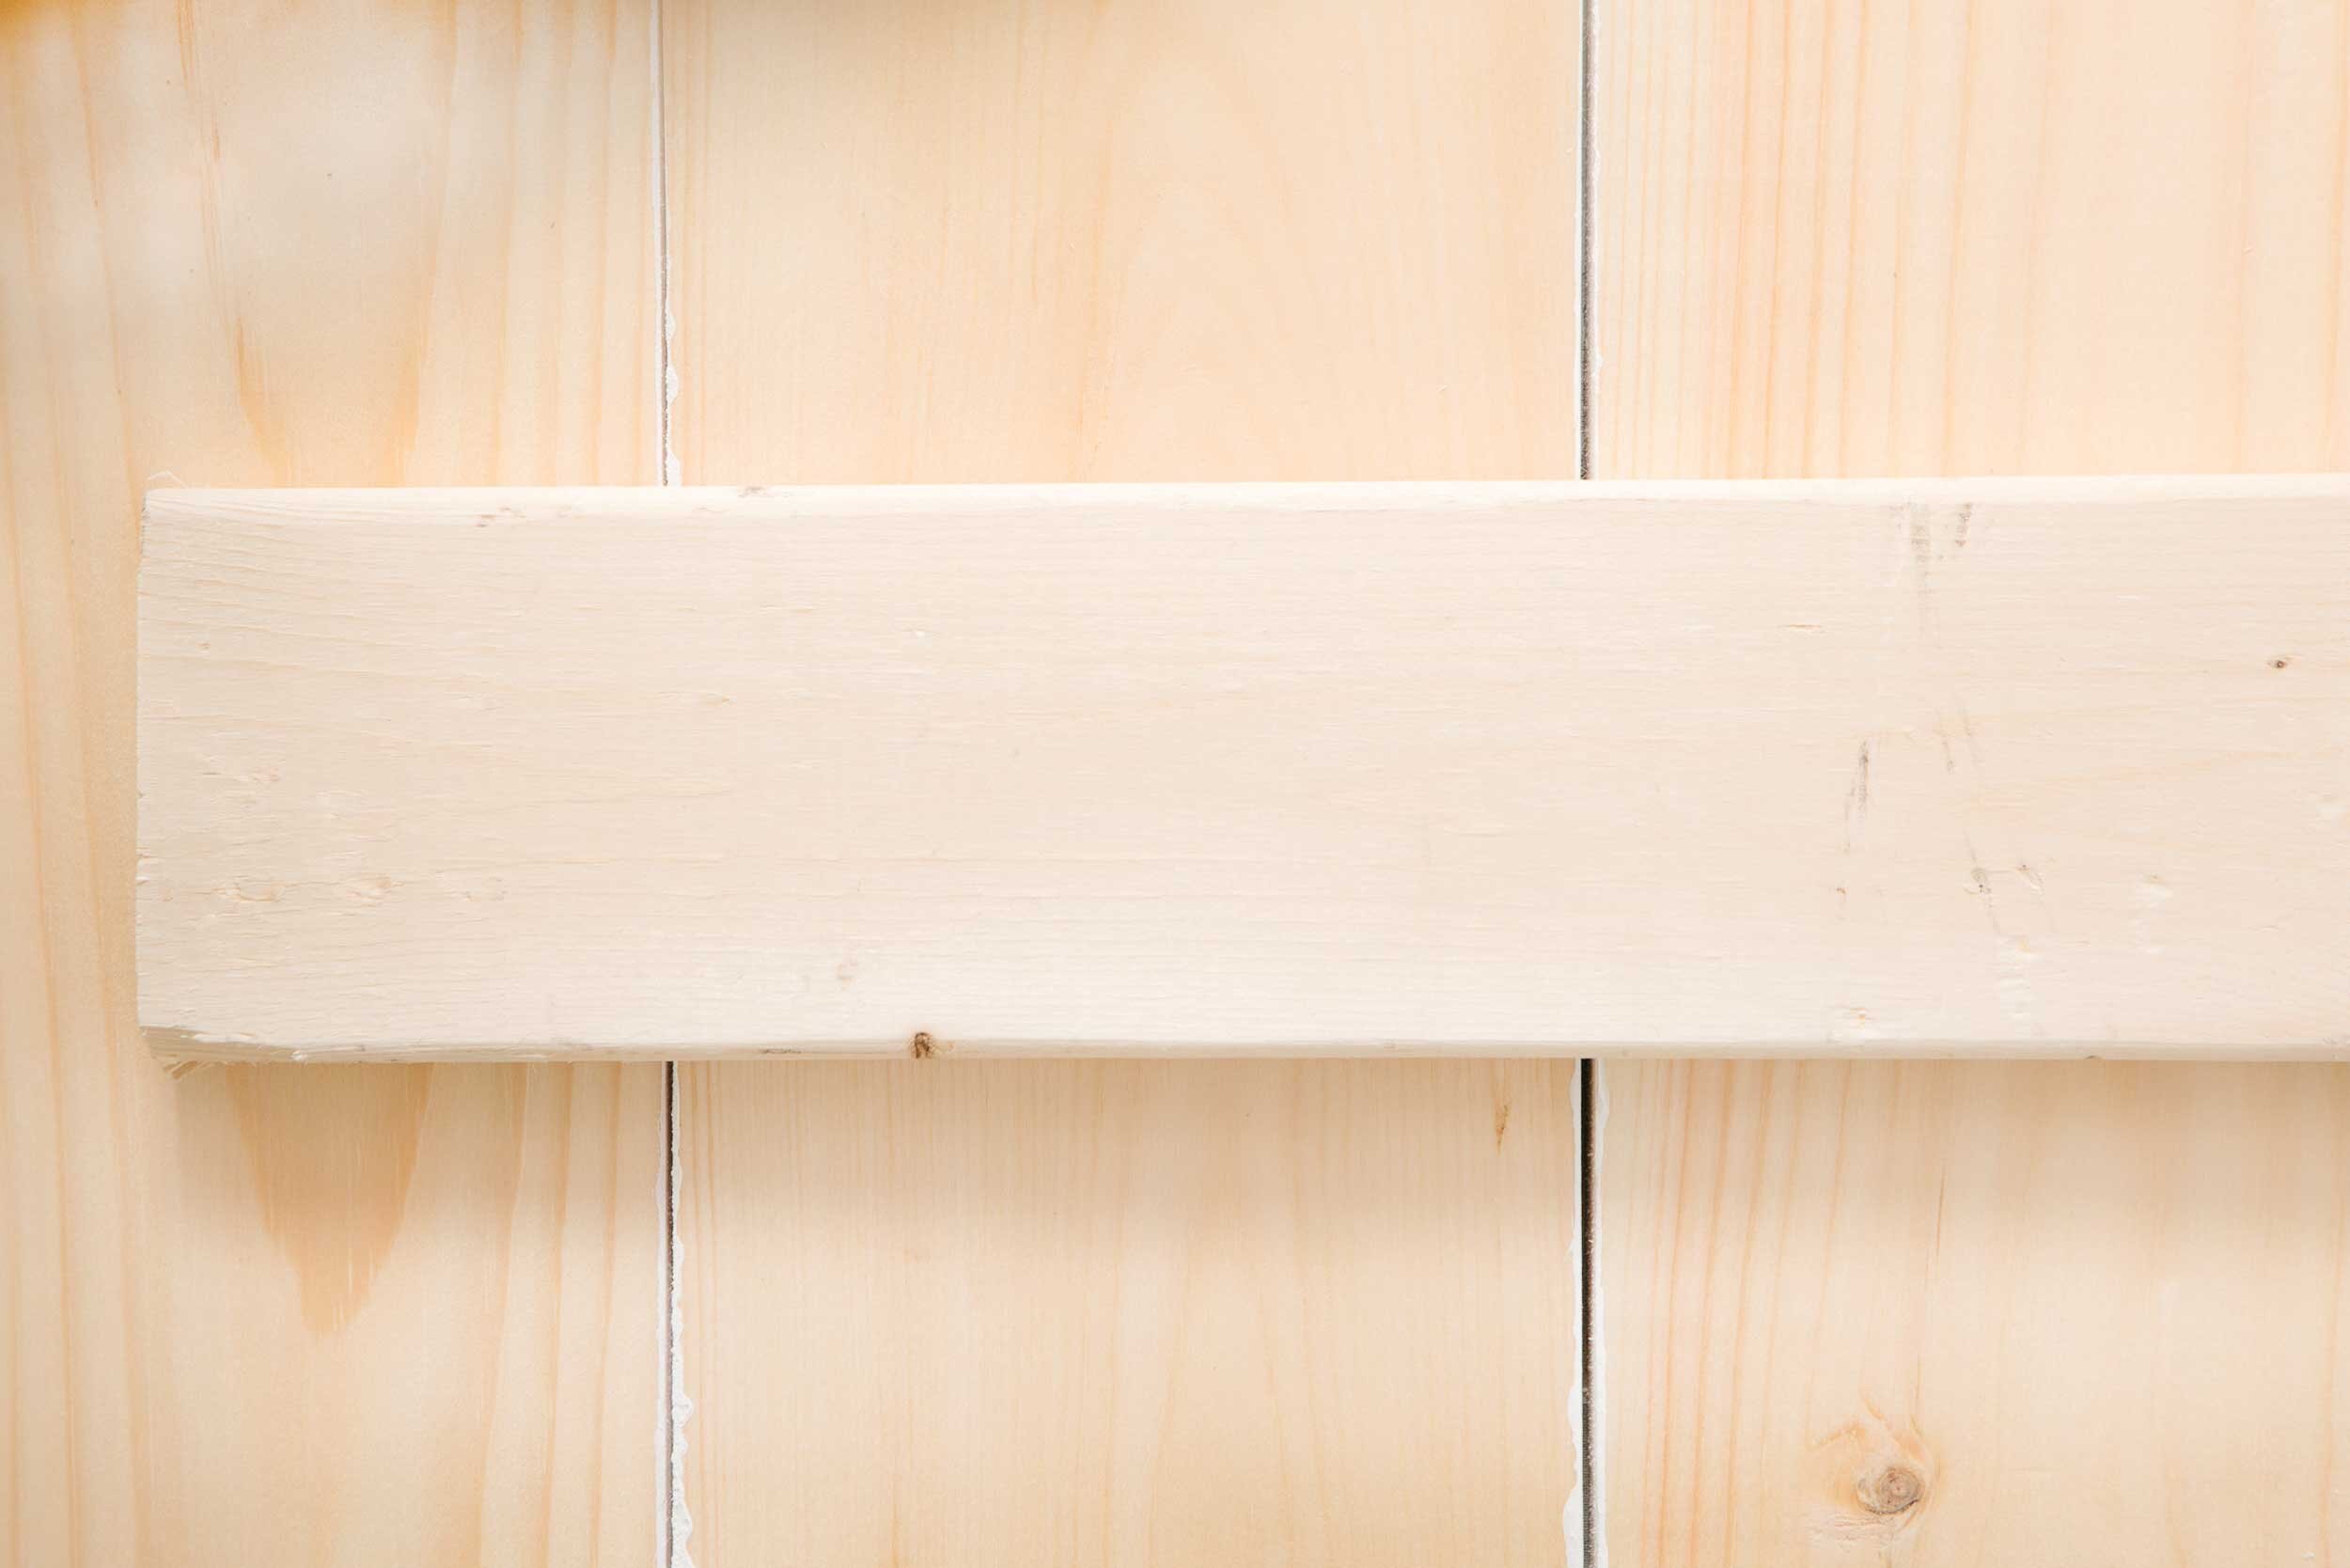
In terms of picking out wood, I’d recommend looking for something you like the look of and starting there. I grabbed three 6”x8” planks of ‘knotty pine’, which we then had cut in half in the store so I then ended up with six pieces of wood in total. Plan out what size you'd like your final backdrop and use that to determine how many planks you'll need once you cut them down. My final backdrop ended up being about 3'x4', for reference.
You’ll also need two pieces for the back, to secure the boards together (and also, to act conveniently as handles!). I used a few extra pieces I had laying around from a previous project, and really, anything will do, you'll just want to cut it down so it's a little shorter than the width of your final backdrop.
Step no.1 — Sand the Planks
Using sandpaper or a sanding sponge (which I prefer because it’s easy to hold and works well on the edges), sand the ends of each plank to smooth and round the edges for a nice finish. I also quickly sanded down the length of the planks to ensure they were nice and smooth.


Step no.2 — Paint your first coat
I decided to paint the wood before securing them together, as I wanted a little more control over each individual plank and to be able to fully paint the sides as well.
For the paint, I asked the lovely woman behind the paint counter for help and she recommended a solid colour weatherproofing wood stain in white, since I wanted a solid look (as opposed to just a stain or tint) and something that was going to hold up to spills and general use as a backdrop. I grabbed a quart, which is plenty for a small scale project like this.


The painting is pretty self-explanatory — paint in long, light strokes with consistent pressure, following the grain of the wood. We're going for continuous coverage, so pay close attention to the edges of each paint stroke and try to blend together as much as possible.
Once you've done the top of each board, paint the edges as well, using a smaller brush if you have one.
Leave the planks to fully dry, which shouldn't take too long if you've kept your first coat of paint quite light.


Step no.3 — Add your second coat
Once your first coat has dried, add a second coat overtop, following the same directions and being conscious of the look of your paint strokes and how they'll dry. You're looking for fairly solid coverage, though you should still be able to see a hint of the wood grain through the paint.
Once again, allow this coat to fully dry.


Step no.4 — attach the planks together
Once your planks are dry, flip the boards over and line them up beside each other. Line up your extra wood pieces about 6 in or so from the edge so it's crossing each of the planks.
Mark where you're going to add your screws, aiming for roughly the centre of each of your planks. You can add two screws per plank if you want it to be extra secure.

Grab your screws — which should be shorter than the height of the two pieces of wood when stacked on top of each other — and your drill. If you've used a soft wood (like pine), it will be easy to drill right into the wood. Make sure the screw goes through both pieces of wood (without going through the other side of your backdrop) in order to fully secure them together.


And that's it! You now have a white wood backdrop for all your photo styling purposes.
Another option, depending on the look you're going for, would be to sand away the paint in certain areas in order to achieve a slightly more worn in, distressed look. But of course it all depends on what will help you achieve the effect you want.
Happy styling!


This post is sponsored by The Home Depot Canada. All expressed opinions and experiences are my own words.