A Modern and Minimal Wreath DIY
It all started with an inspiration board and a little walk through my visual strategy process, and now here we are with my take on a modern, minimal wreath for the holidays. Perhaps a slightly different take on tackling holiday decor, but I've never claimed to do things the way that everyone else does, especially when it comes to exploring my creative process.
As you saw in that original post, I had seen a few themes start to emerge on the visual strategy canvas, and knew I wanted to create something that was modern and minimal, with gold and feathery details and a mix of sleek and natural textures. You can see a lot of the details from the original inspiration images I pulled start to show up in various ways in these wreaths, and I love this non-traditional take on such a classic holiday decor item.
I knew I wanted to use gold embroidery hoops right off the bat, but it took me a little longer to decide on the rest of the details. I originally thought I wanted to do something with greenery and dried grasses, and then also toyed with the idea of using spray painted florals again, but since I did something similar as part of a recent tablescape design, I went back to the drawing board — and started digging through my craft and styling supplies. I found these white flocked branches there, which I had leftover from a past project. Perfectly wintery with just a hint of a glittery iridescence, they captured the feathery, feminine quality that had shown up on my original moodboard, and I love how they feel more winter wonderland than anything, and less Christmas-specific, which is something I wanted to avoid. Bingo!

Supplies
Gold metal hoops
Flocked branches
Gold wire
Ribbon
I found my hoops at Lens Mills, but there are also lots of options on Amazon, and I'm sure you can find them at most craft and fabric stores as well. I grabbed a few different sizes, ranging from 2 in to 8 in wide.
For the branches, mine came from a wholesale prop house months ago, but Michael's has lots of similar options, or you could check somewhere like Afloral as well. And think beyond what I chose for this project — fresh greenery would also work, you could try branches with festive berries on them, or do something that's more floral focused.
I wanted to choose a variety of styles, widths, and textures of ribbon, keeping everything within a white colour palette but playing with a mix of sheers, velvets, and simple satin. If you're in Toronto, I definitely recommend Mokuba on Queen St. West, but again — any craft or fabric supply store will have lots of options depending on what you're going for.
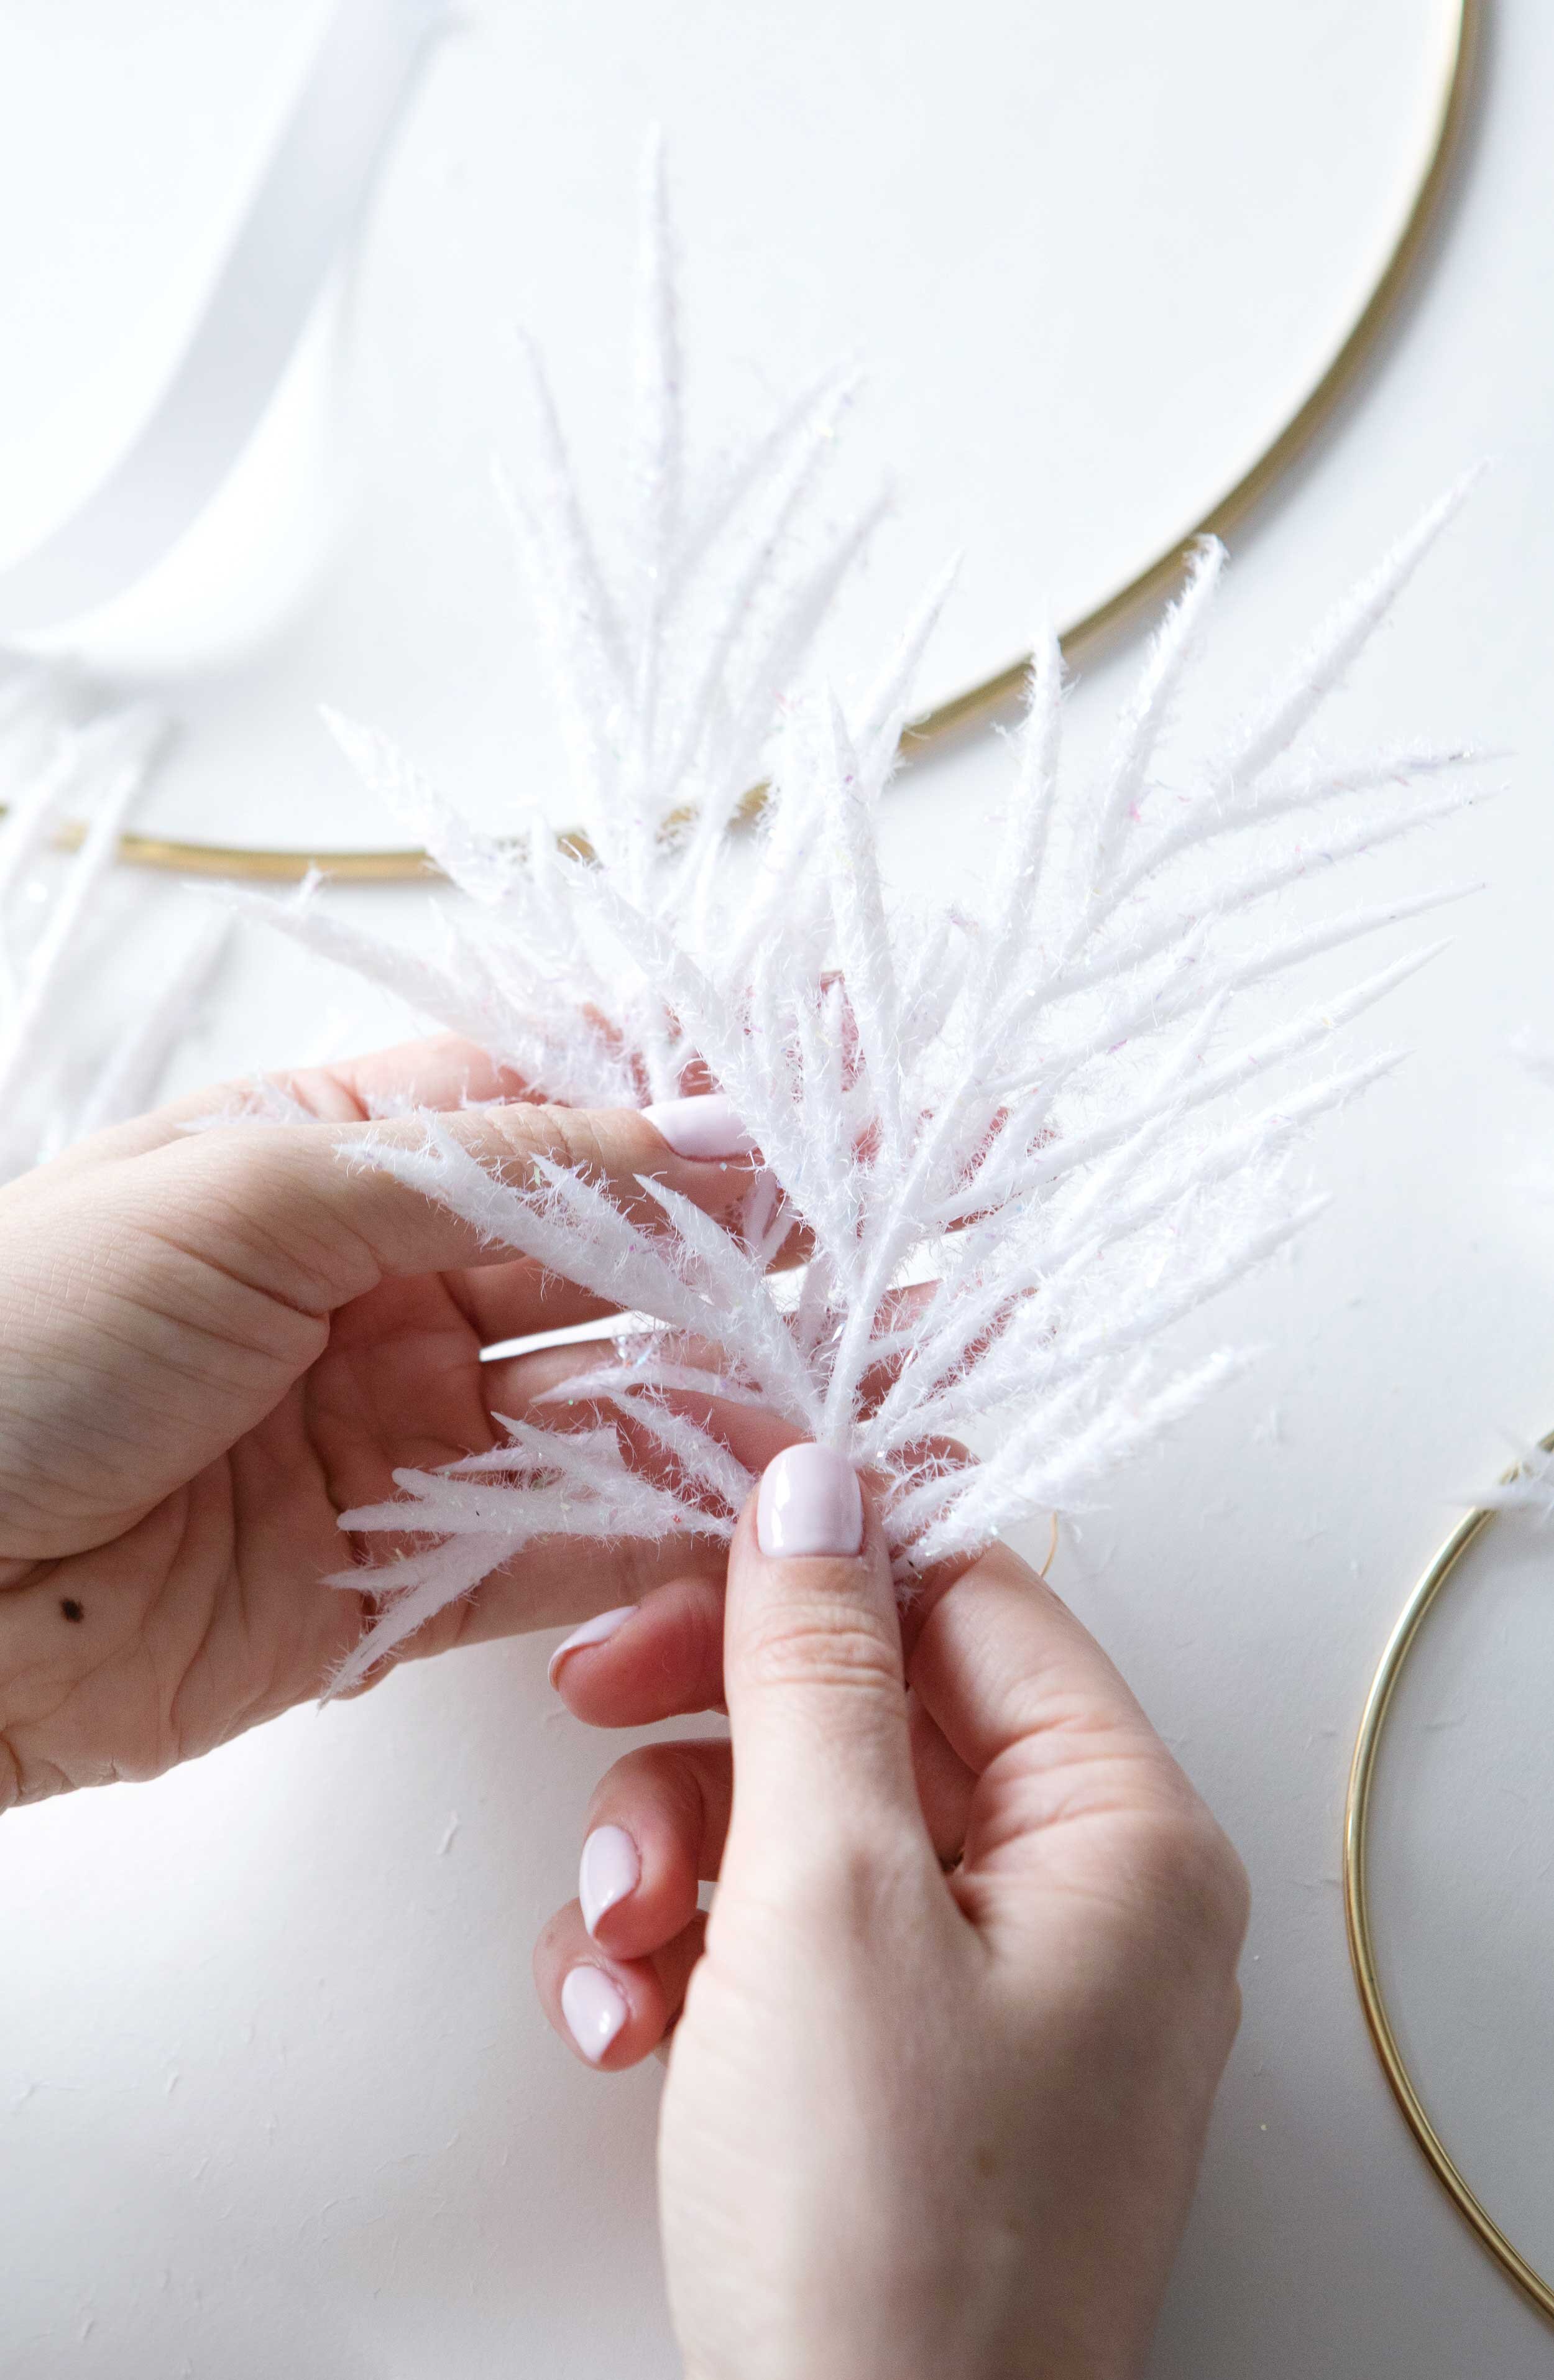
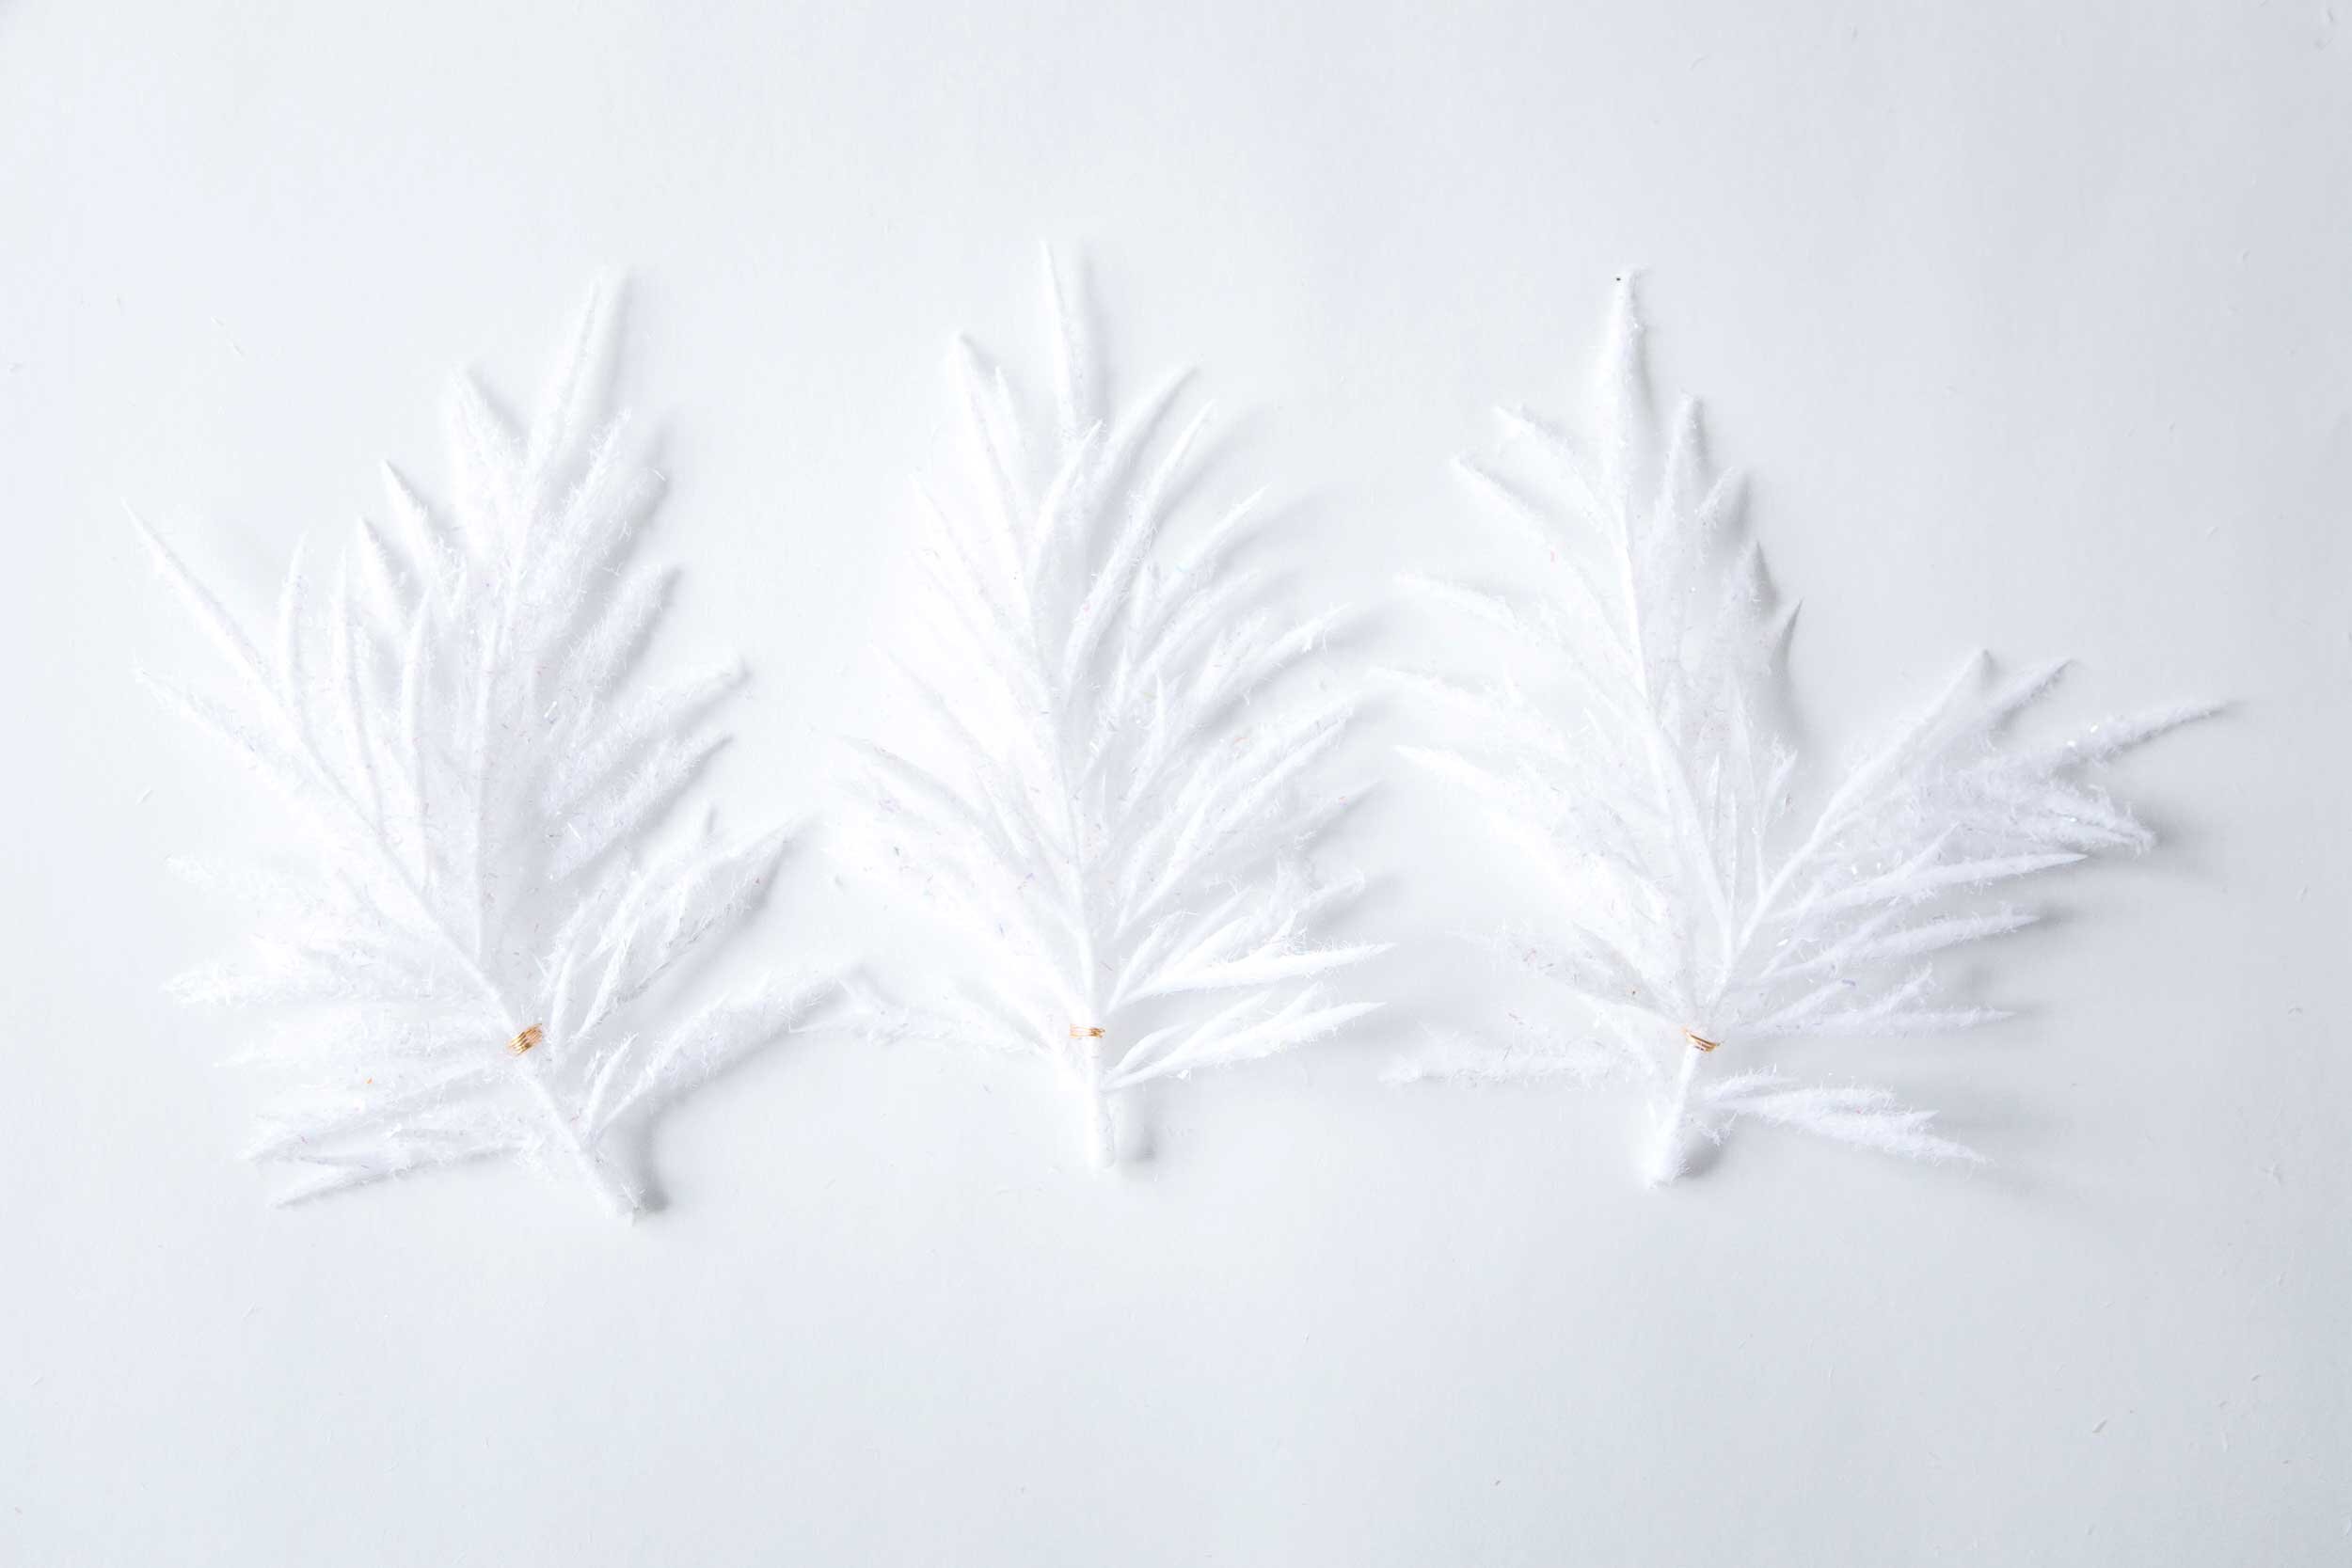
Step No. 1 — Create Small Bundles of Branches
Grab a few small pieces of your branches and bundle them together, using a piece of wire (about 3 in long or so) to twist around the stems in order to secure. You want to fan them out a little bit, and think ahead to how you want to place them on your hoop. I knew I wanted to follow the curved lines, so I kept that in mind.


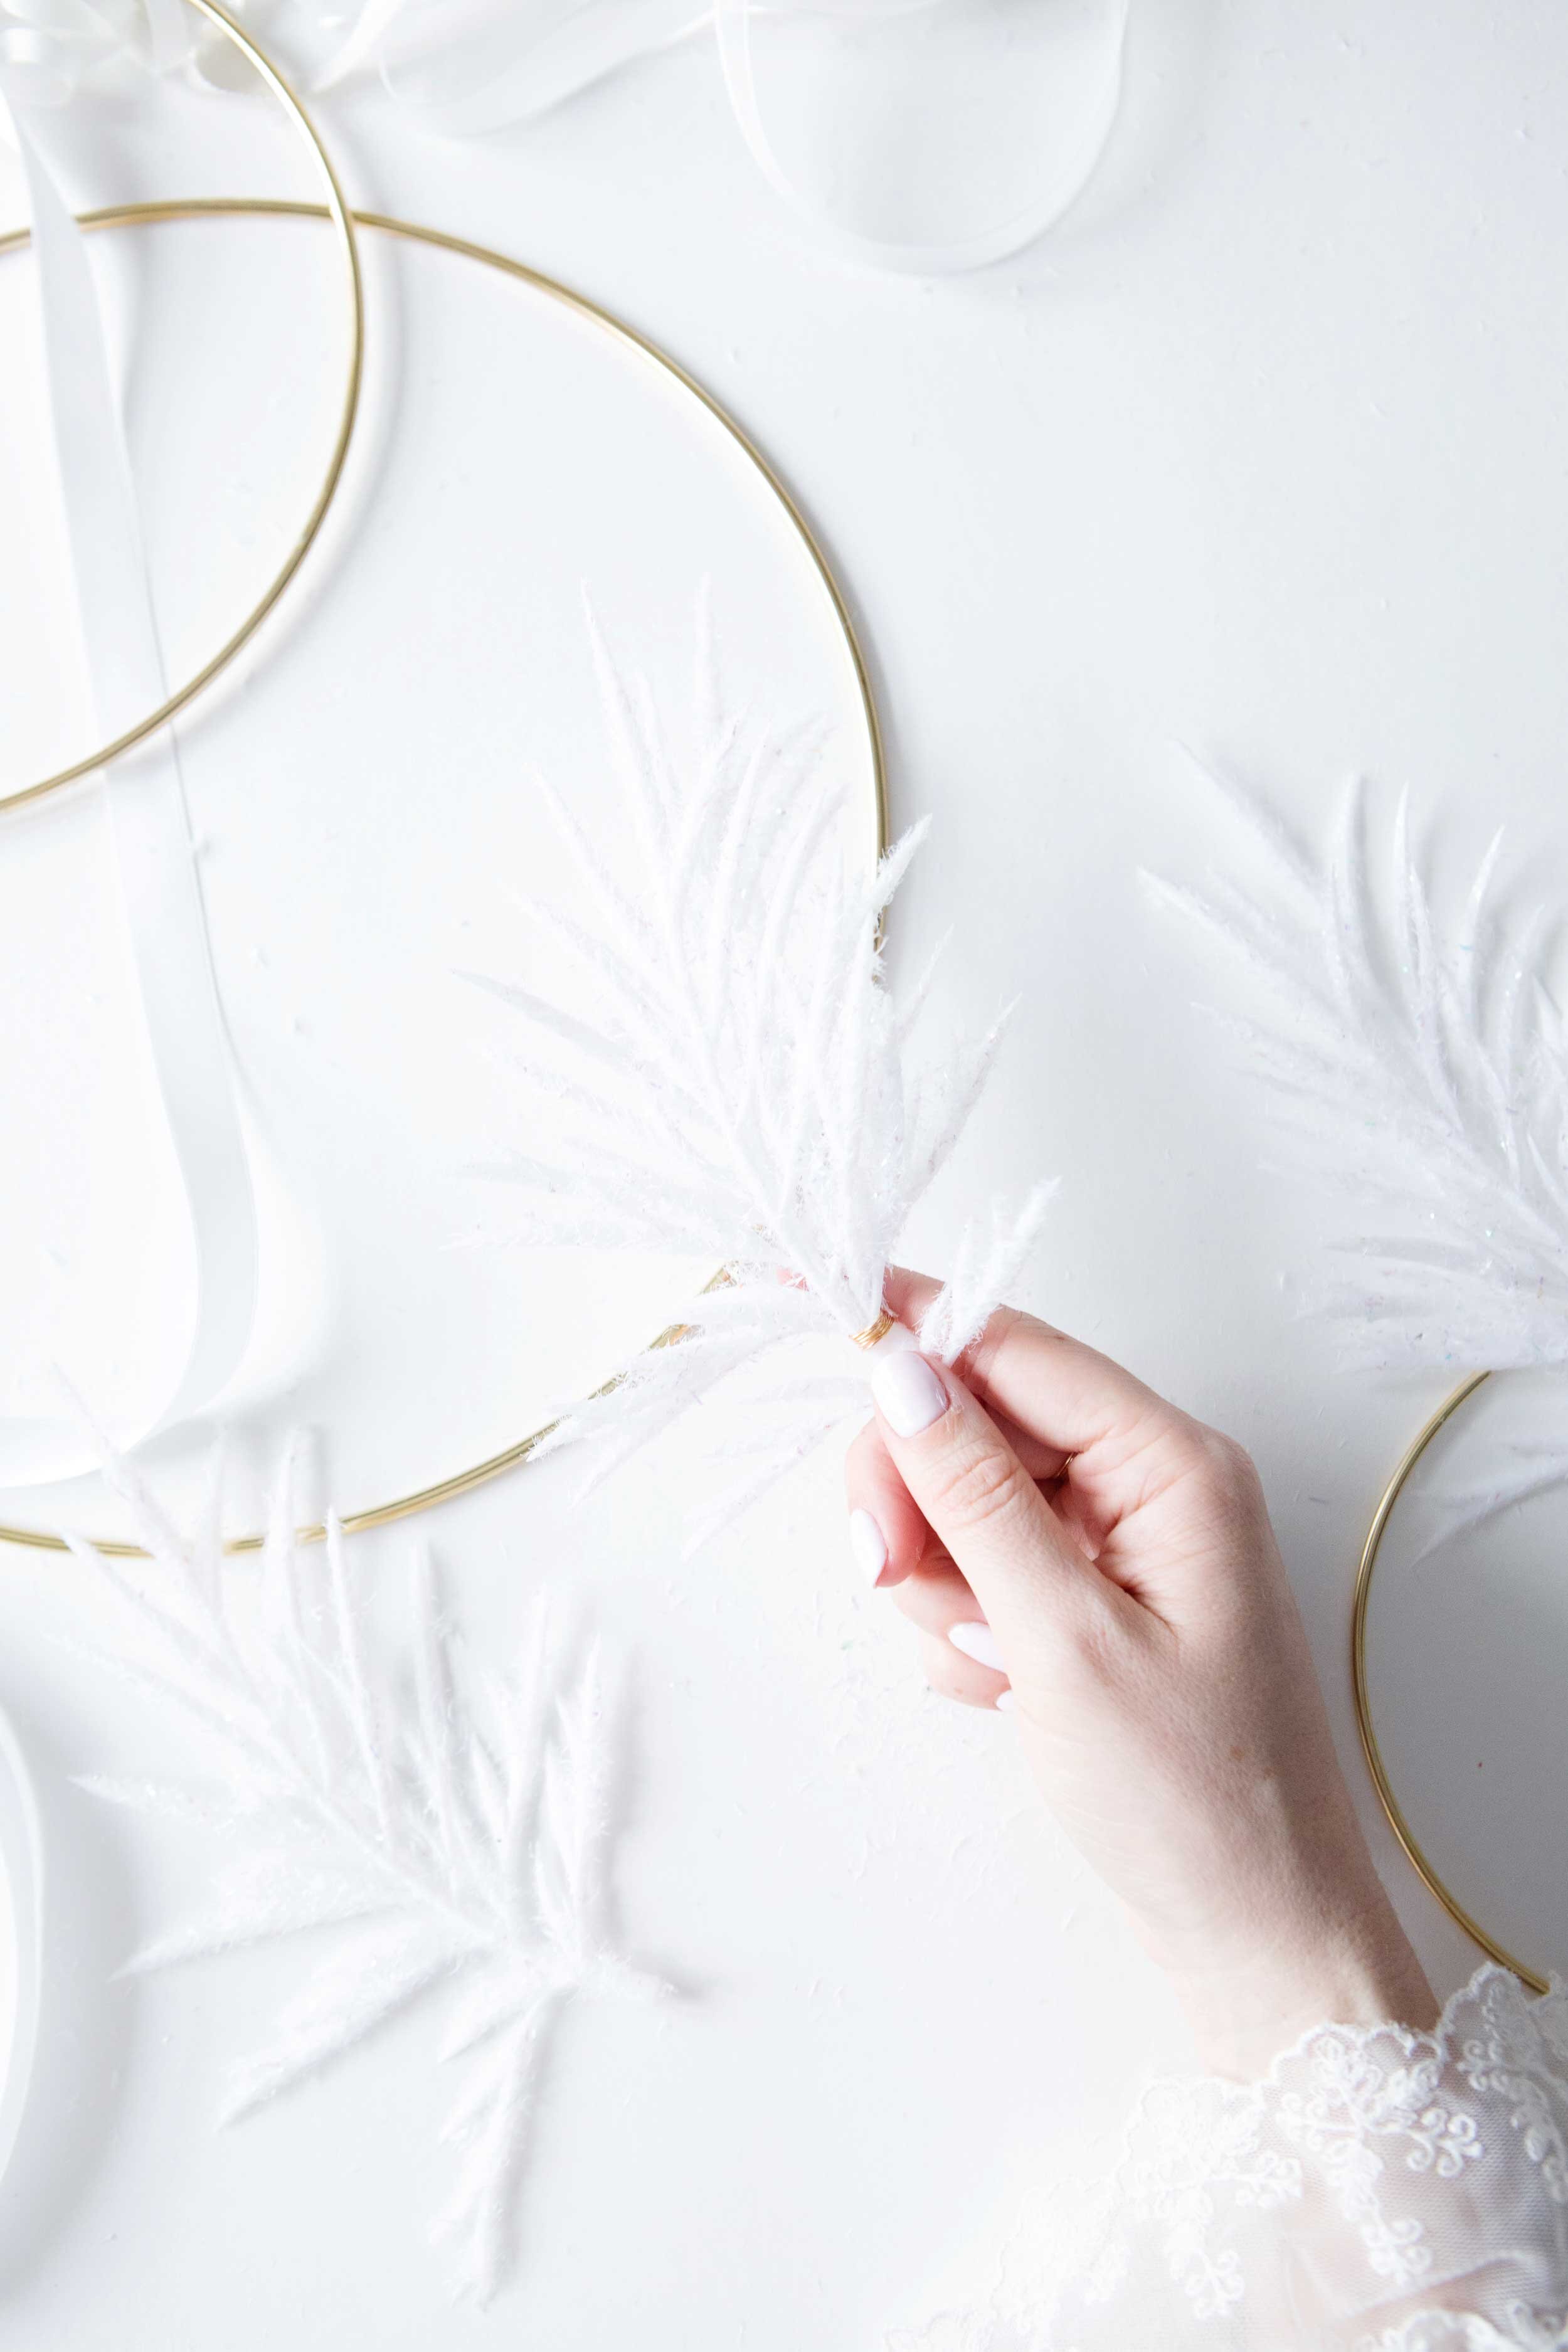
Step No. 2 — Attach Your Bundles to the Hoop
Once you have a few bundles, you're ready to attach them onto the hoop. Using another piece of wire, twist around the bundle and the hoop tightly, securing it in place in the position you want it.

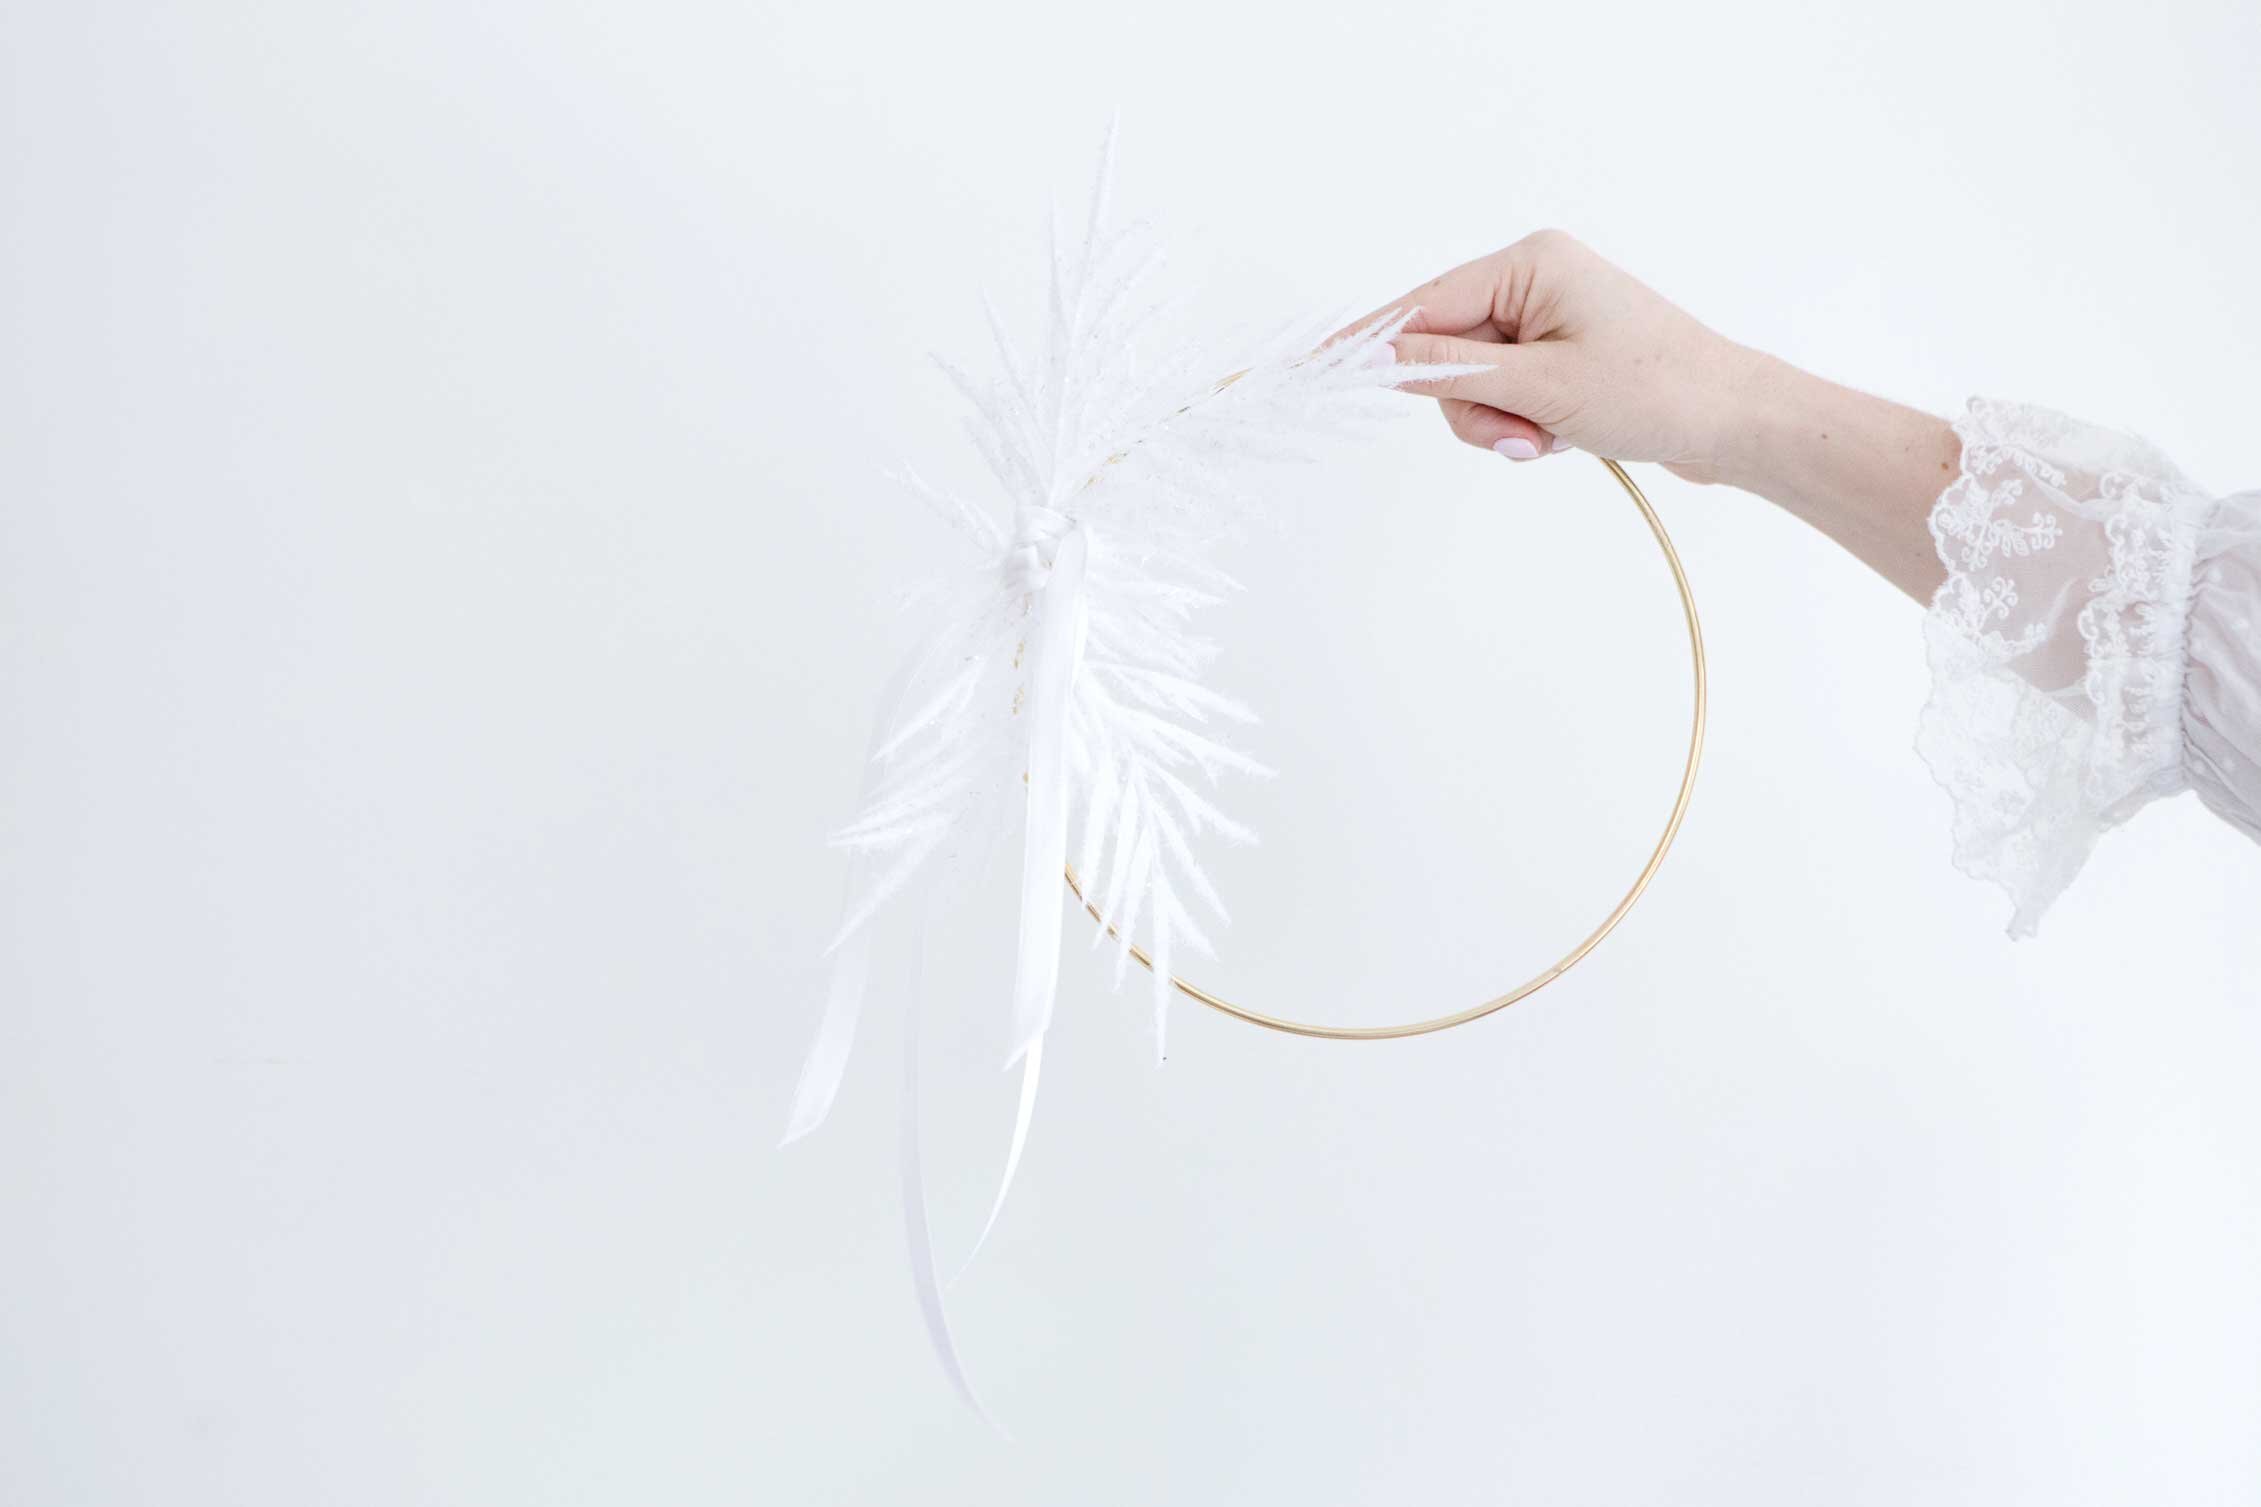
Once your first bundle is on, add your second one, flipping it the other way so the base of the bundle is lined up with the first one and the feathery ends are mirrored with those of the first. This gives you a nice curved, crescent moon shape that follows the shape of the hoop and feels intentional, as we're going to leave the rest of the hoop bare so we still see lots of the gold.


Step No. 3 — Add Your Ribbon
I wanted to keep my ribbon really minimal and unfussy, so I opted to simply tie it around once, knotting it over the wire in the back so the wire is covered, and leaving the ends hanging down. I liked the look of two different ribbons, so for my wreaths, I layered two on each wreath, contrasting different textures and lengths.
You can play around with various lengths of ribbons, or try tying them in a bow instead for a different look — it all just depends on what you're after!