
DIY Tile Backdrop
I can hardly believe it, but here we are with the fifth and final instalment of the DIY backdrop series we've been working on for the past few weeks. If you're just popping in now, we started with a white wood backdrop in week one, following it with what might be my favourite DIY backdrop yet, a textured backdrop that we painted a dusty shade of pink and used for styling a floral flatlay for our second project. We then simplified things a little and turned to porcelain tiles for our marble backdrop, taking a break from the paintbrushes and drying time until the next one, where we took it back to my original DIY backdrop (and still a favourite go-to of mine), the solid coloured backdrop that's perfect for customizing with your shade of choice.
And that, my friends, brings us to today, as we wrap up this little styling series, with another more recent addition to my backdrop collection — the tile backdrop.
I made my first tile backdrop a few months ago when I needed to create a nice bright kitchen setup for a client of mine, wanting something I could pull out every month when we went to go shoot their content. For that first one we opted for shiny white, offset subway tiles with white grout, which you'll see show up a lot in my custom content.
This time around, I wanted to switch it up a little, so after spending way too long in the tile aisle at The Home Depot, I picked out a square, matte white tile and a charcoal grey grout for a high-contrast pairing that would give me a grid-like effect that I was looking forward to playing with.
The result? A custom kitchen setup that has a bit of a retro flair to it that I'm kind of loving.
For this DIY, we've also created a video so you can see the project in action, making it a little easier to see all the nuances without having to include a million step-by-step photos showing each and every little detail!
Supplies
Hardboard — Similar to what I used for the textured and coloured backdrop, for this one you'll want to go a little thicker in order to support the tile, so this 1/4" option is perfect.
Grout — This is the one I chose this time around, but there are lots of different options, so choose one that works for you.
Terry Towels — I grabbed these as I was leaving the store just to have on hand, and they ended up being perfect for wiping away the grout and cleaning up the edges.
Bowl of warm water

Step No. 2 — Lay Down Your Tile
Line up your tile grid with the edges of your board and gently push down, securing it into place using the grout as your "glue" to hold it down.
Step No. 3 — Repeat and Cover Your Board with tile
Continue with the next section, laying the tile square by square until you've covered your entire surface area. Pay attention to the space you leave between each square of tile so that it's consistent with the amount that is left in each grid and you won't be able to tell the difference.


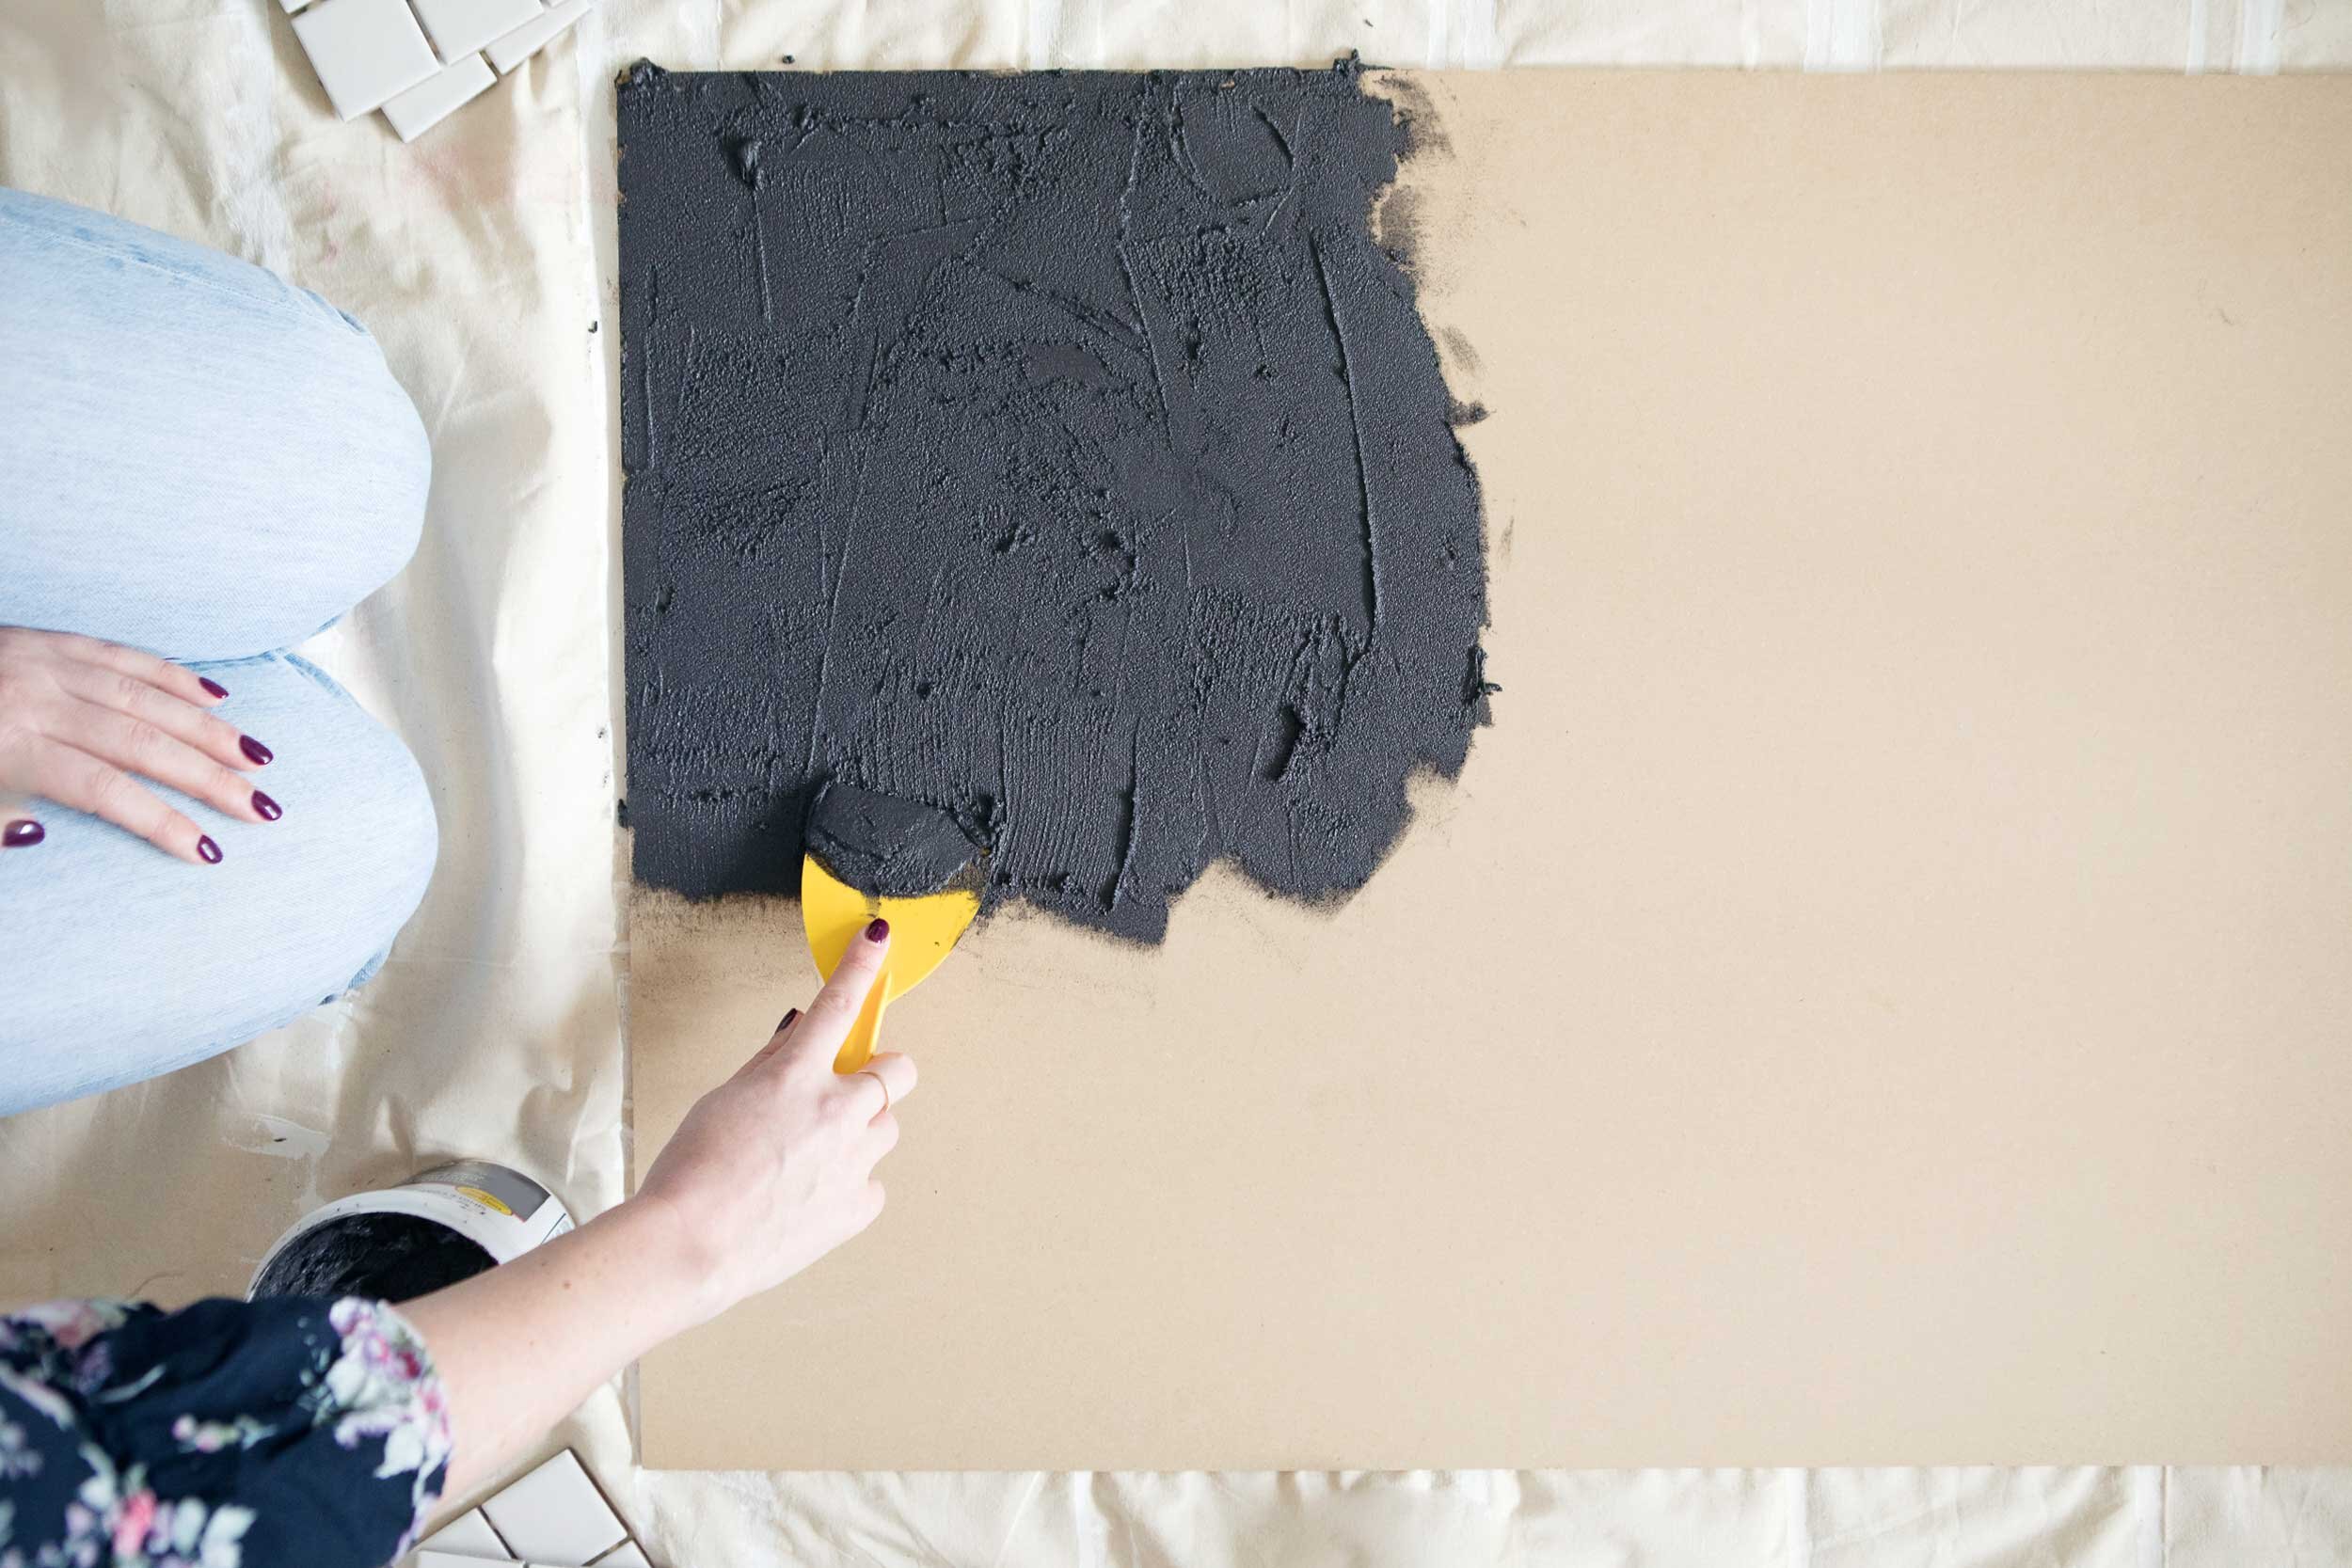
Step No. 4 — Add Grout Between Each Individual Tile
It's time to get messy! Using your scraper, start adding more grout on top of the tile, focusing in between each individual tile where the gaps are. We want to fill those gaps so that the grout is on the same level as the tiles themselves and we're creating a relatively even surface.
Don't worry too much about getting grout all over the tiles here, as it's going to happen, but do try to scrap it off as much as possible. We're going to be going back over and scraping off the extra grout next, so the more grout you leave on top, the harder you'll have to work to sand it off once it's dried.
Once you've filled in all the gaps, allow the grout to fully dry.

Step No. 5 — Sand the Excess Grout Off
Once the grout has dried, use a sanding block to start removing the excess grout from the tiles. Don't worry about getting those grout lines straight or perfect yet. At this point, we just want it to look like the top left corner in the below photo, removing as much as possible.
Once you're done, brush away the grout dust so you have a clear surface.

Step No. 6 — Finesse Your Grout Lines
So just as a bit of a disclaimer here, this part is a little time consuming and can be a little rough on your hands, so you may want to tackle it in shifts, enlist some help, and throw on your favourite Netflix show. And definitely don't let the grout sit for days before tackling this part — the sooner after you lay the tile the better (while still allowing time for it to dry, of course).
Take one of your towels, dip a corner into your bowl of warm water, and start rubbing away the grout along the lines. It's easier than it looks at first, but as mentioned above, a little time intensive depending on how big your surface is. What we're really aiming for here is to get those lines nice and straight, so you'll want to dig into the crack a little bit.


One thing to note is that if your chosen tile is offset, you will either need to purchase a tile cutter (I own this one), or be ok with having the tile extend out on the edges awkwardly (which, admittedly, might be a bit dangerous as well). It's really not a big deal to trim down the tiles, and this is what we had to do for our first one because of the tile pattern, but just something to keep in mind and one more thing to add to your shopping list.
Otherwise — there we have it! Our DIY tile backdrop.
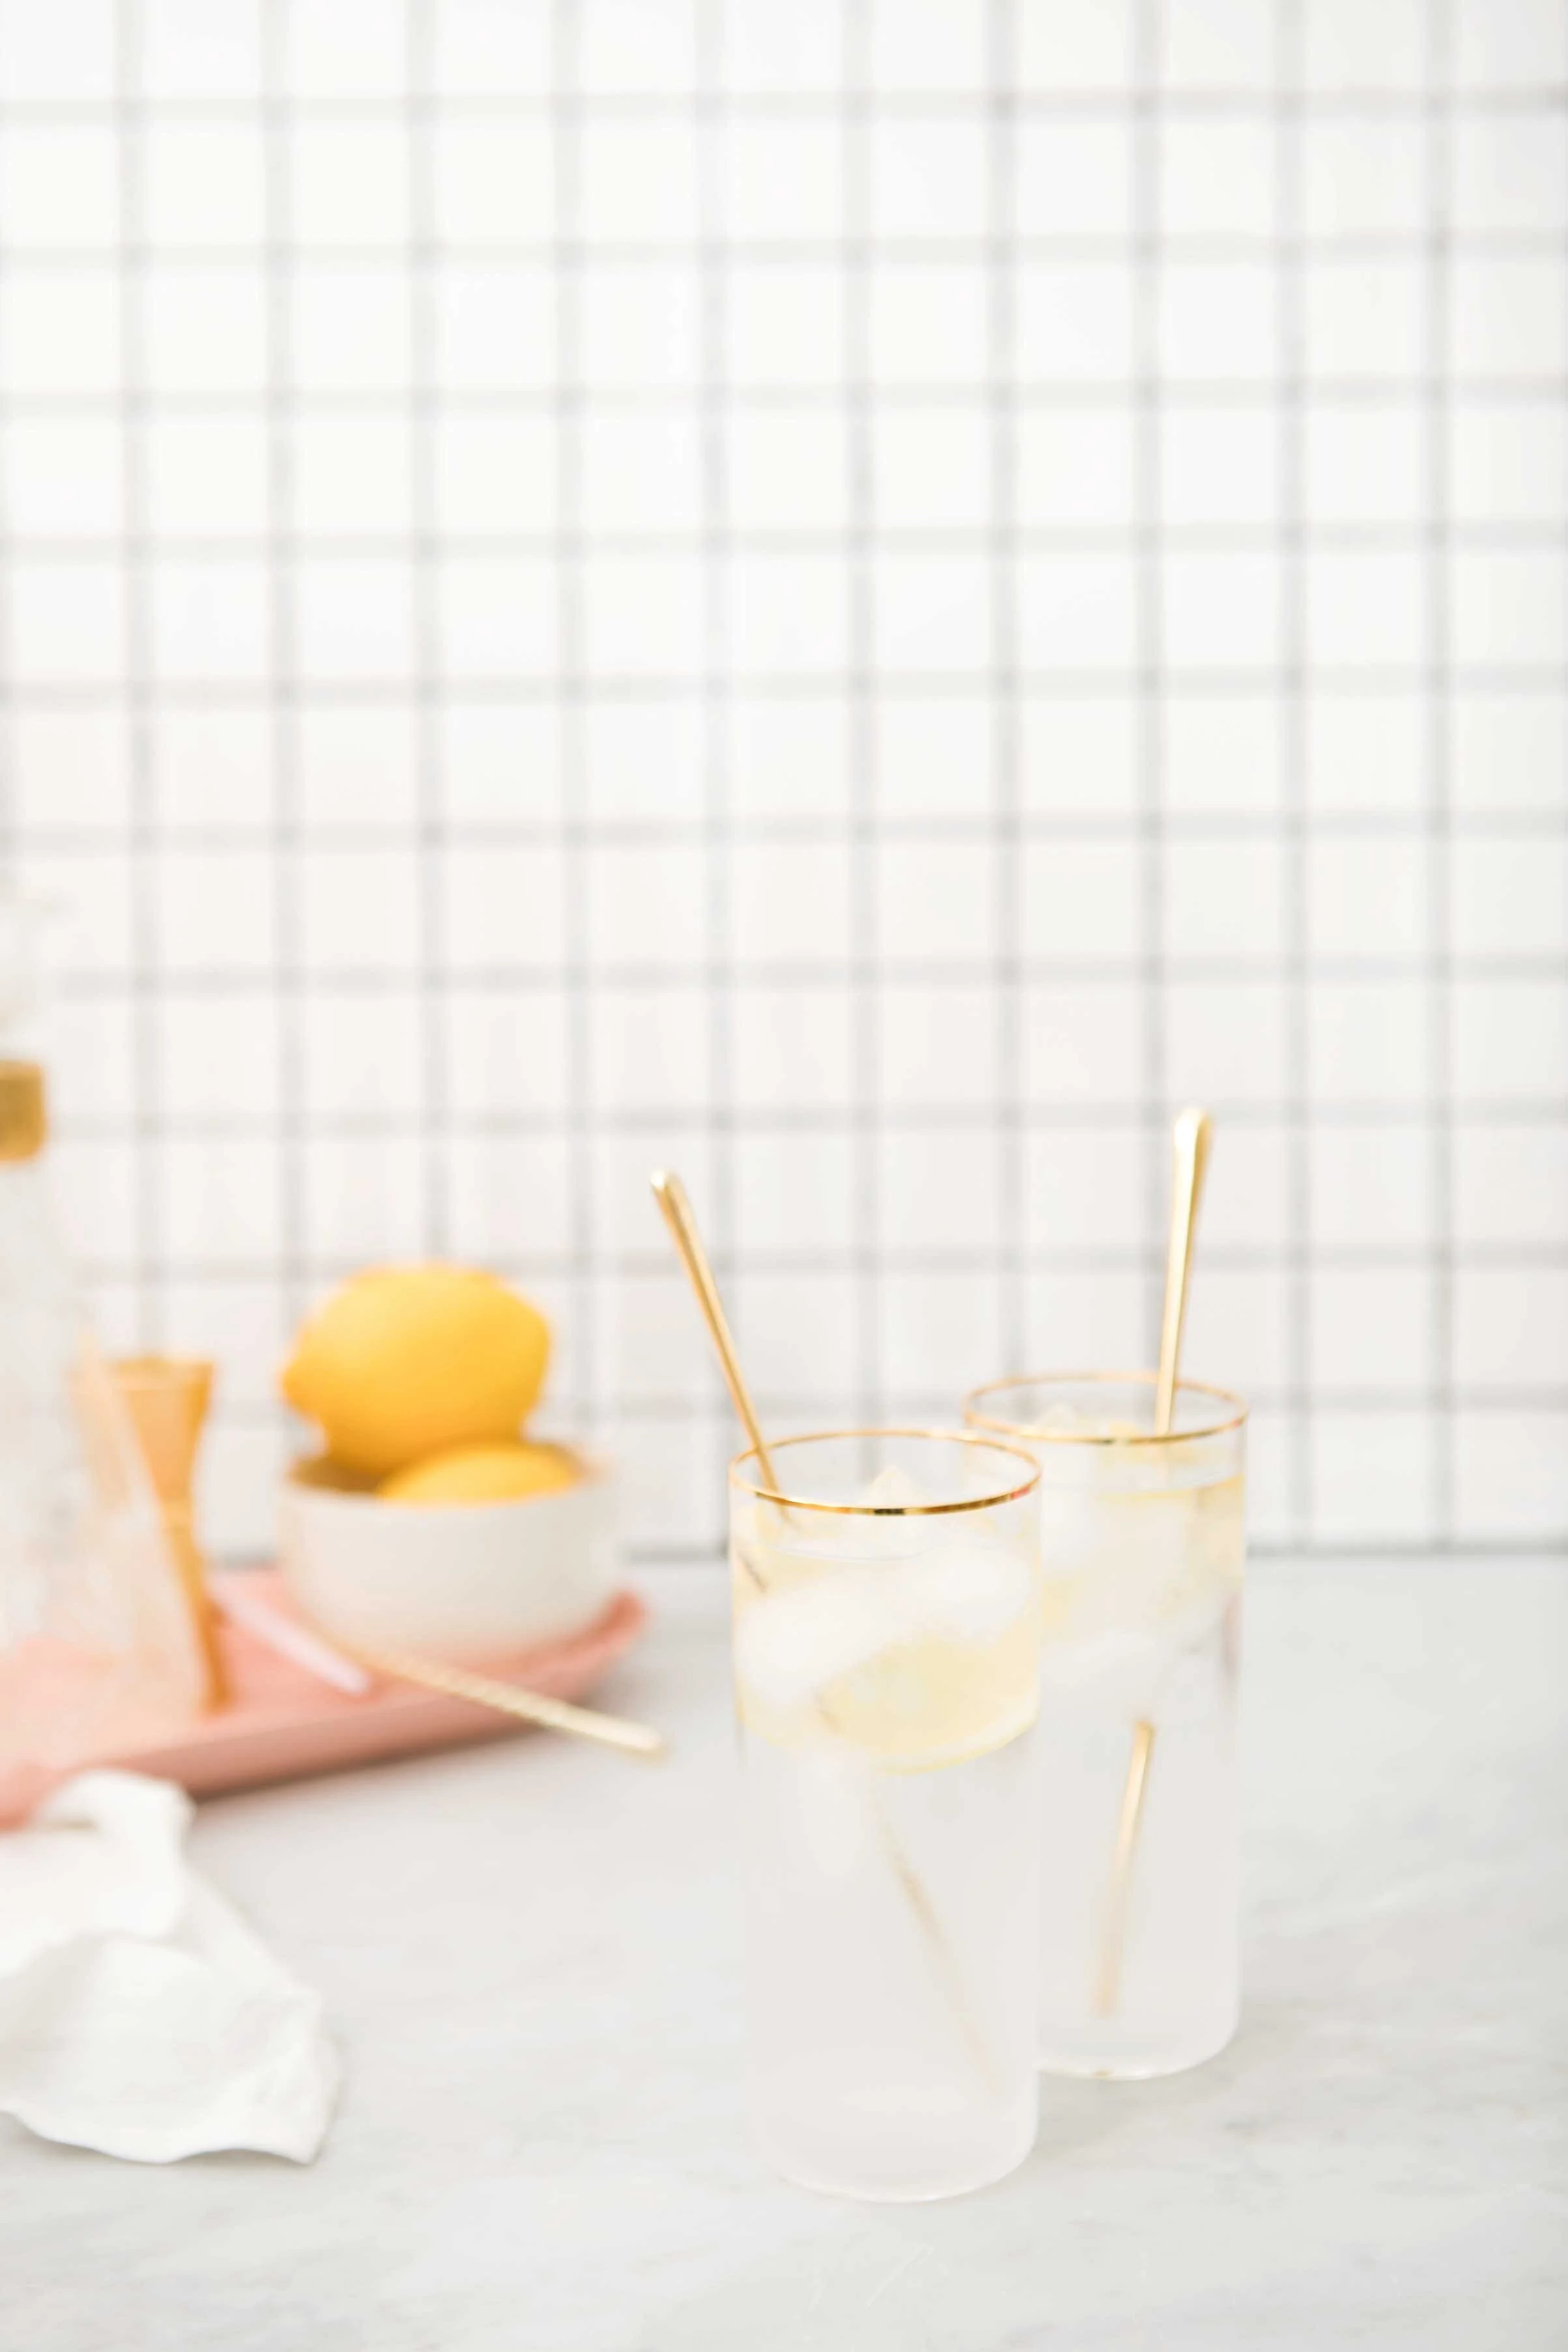
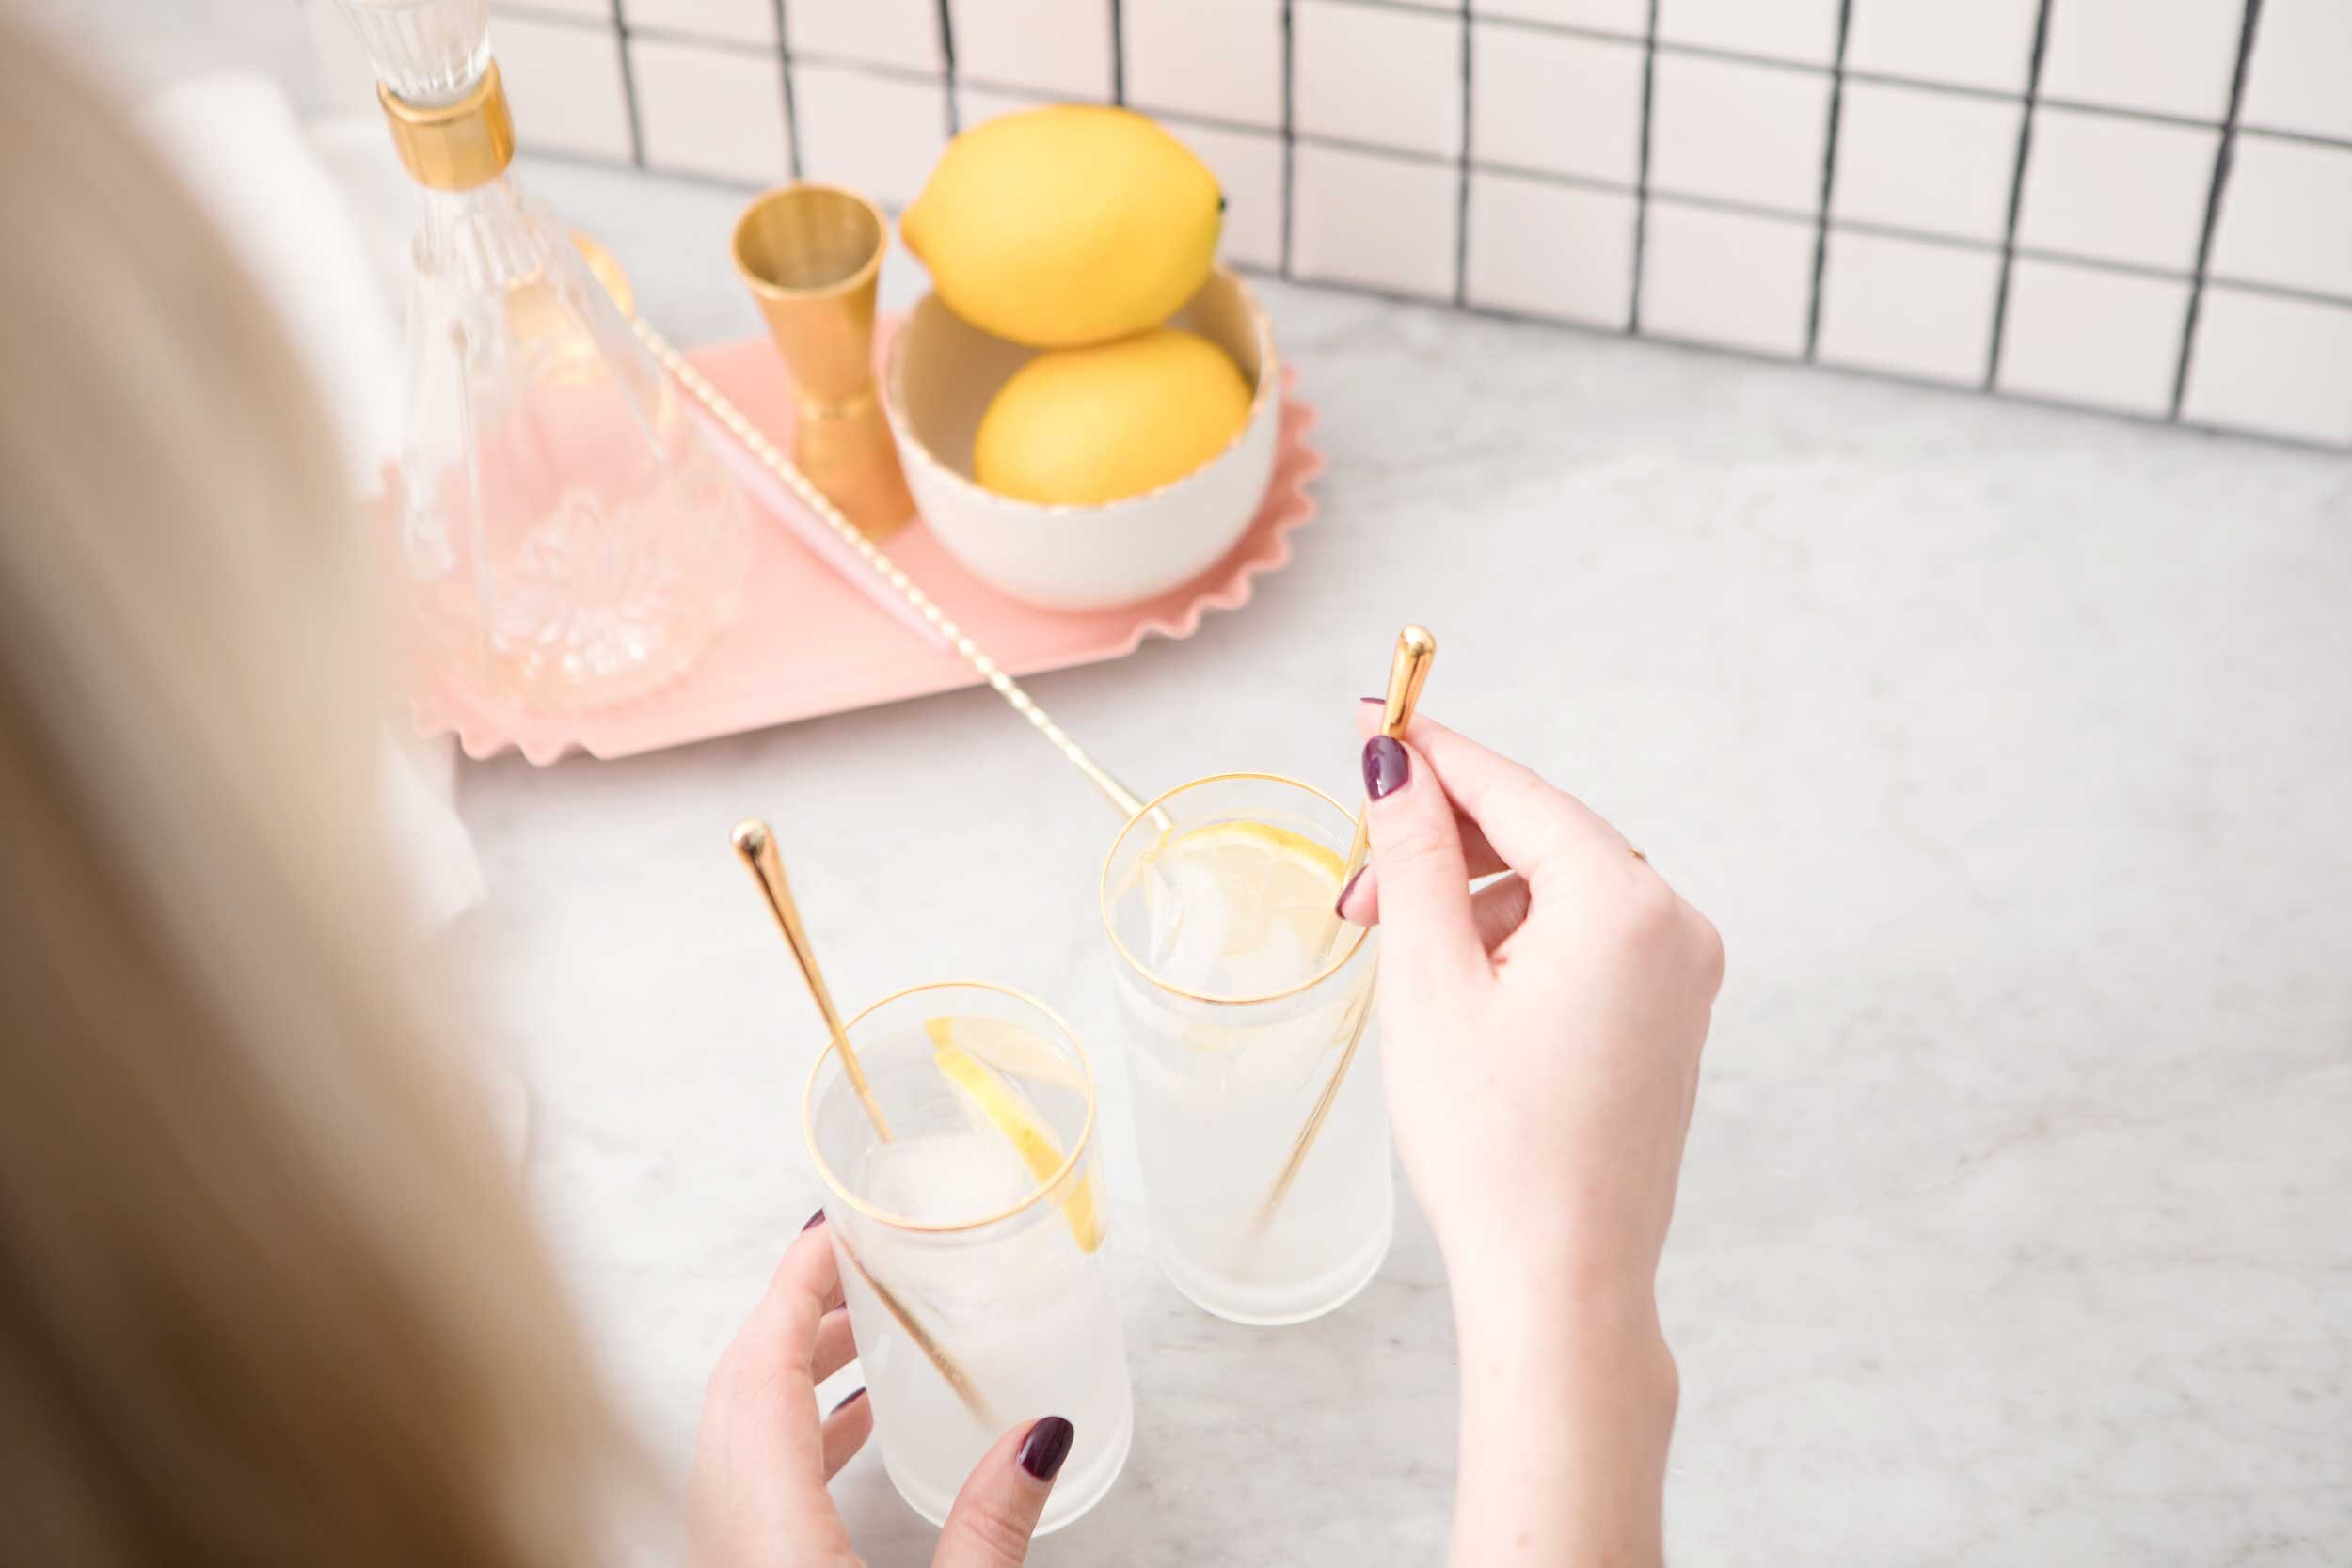
My favourite way to use these in styling is to lean them up against the wall perpendicular to another surface (like marble, in this case) to create a little "faux kitchen" setup that's perfect for recipes and cocktail styling. Blur it out a little in the background to soften it a little, and style away to your heart's content! They also work well for flatlays, and I especially love them for ingredient shots (which again, you'll see a few of in my custom client content). I'm thinking this one will be especially fun to play with with a high contrast grid effect.


This post is sponsored by The Home Depot Canada. All expressed opinions and experiences are my own words.